|
I can't believe I am saying this but I have a 60 page e-Cookbook available on Amazon Kindle and Kobo. 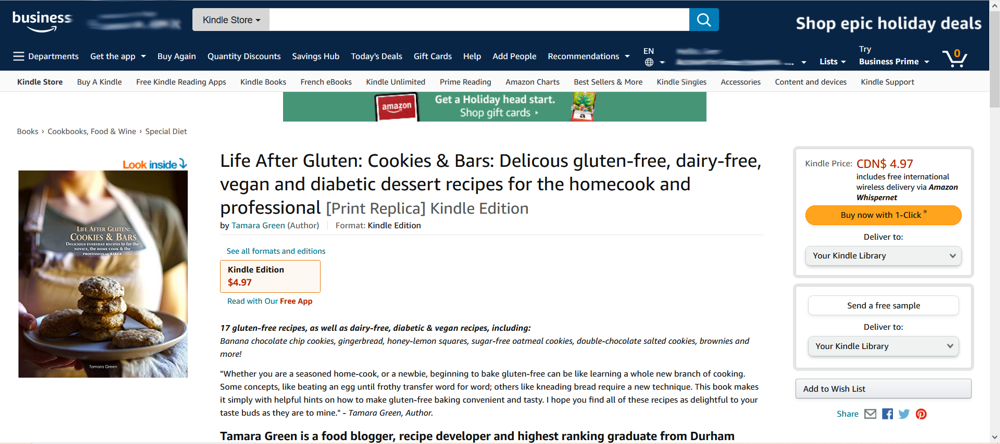 Whether you are a seasoned home-cook, or a newbie, beginning to bake gluten-free can be like learning a whole new branch of cooking. Some concepts, like beating an egg until frothy transfer word for word; others like kneading bread require a new technique. This book makes it simply with helpful hints on how to make gluten-free baking convenient and tasty. I hope you find all of these recipes as delightful to your taste buds as they are to mine. My book features 17 gluten-free recipes, as well as dairy-free, diabetic & vegan recipes, including: Banana chocolate chip cookies, gingerbread, honey-lemon squares, sugar-free oatmeal cookies, double-chocolate salted cookies, brownies and more! 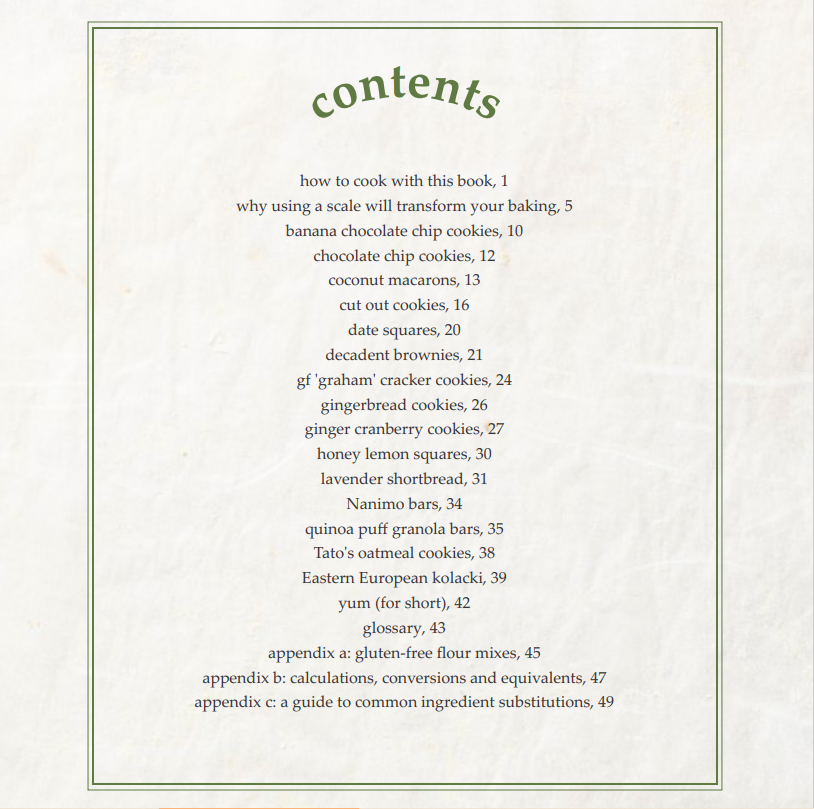 If you are looking for a gluten-free cookbook, I encourage you to check out my book it is only $4.97 CAD and make a great gift for the newly diagnosed celiac. Find on Amazon: Life After Gluten: Cookies & Bars Find on Kobo: Life After Gluten: Cookies & Bars Buy the book and send me your review of one or more recipes before January 7th, 2022 and get a printed acknowledgment in my 320 page hardcover cookbook, which will be published early 2022. 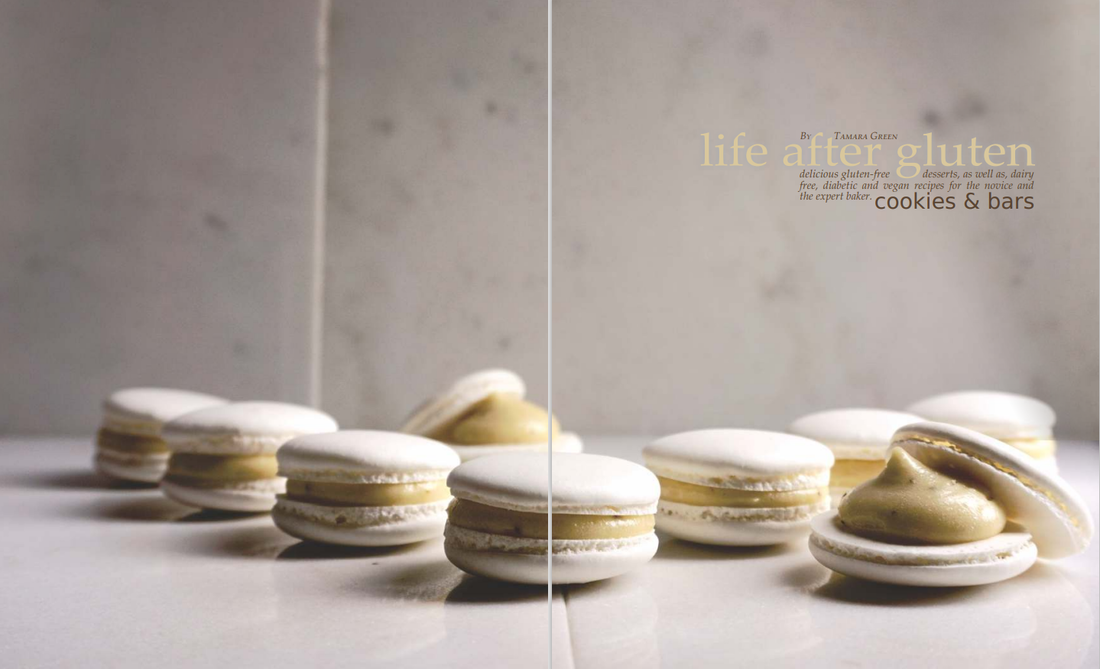 Tamara Green is a food blogger, recipe developer and highest ranking graduate from Durham College’s Culinary Management program (2017) and Advanced Baking and Pastry Arts, post-graduate certificate (2018). For years she has been devoted to making gluten-free living convenient, tasty and extravagant.
Comments
 - BAKED - ultimate chocolate cupcakes June 16th, 2021
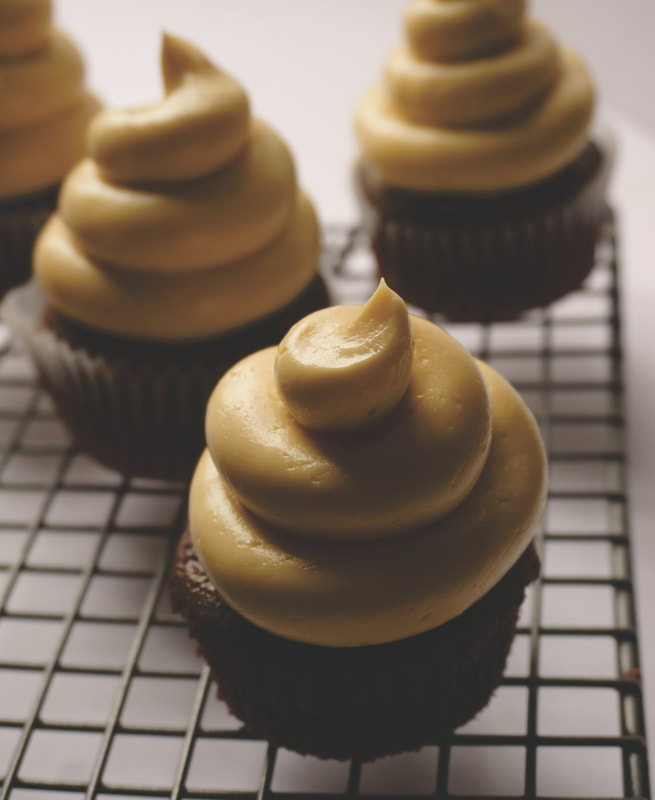
Cupcakes. They seems such a simple indulgence. Nothing is really quite as satisfying as a perfect cupcake. There is something about achieving perfection in something as delicate as a cupcake. They tend to expose every shortcoming you may have in your baking skills. Which is why we end up covering them will so much frosting. Am I right? Just think of all those culinary competitions on T.V. what are the judges so impressed by? The delicate and humble cupcake. Plain and simple... but so unctous. This cupcake recipe was a labour of love. True chocolate is not my favourite food on Earth, however, this was for you, for the little boy, the little girl. Happy birthday to you and bon appetite! ultimate chocolate cupcakes #lifeaftergluten #chocolatelovers #cupcakes #dairy-free #lowglycemic 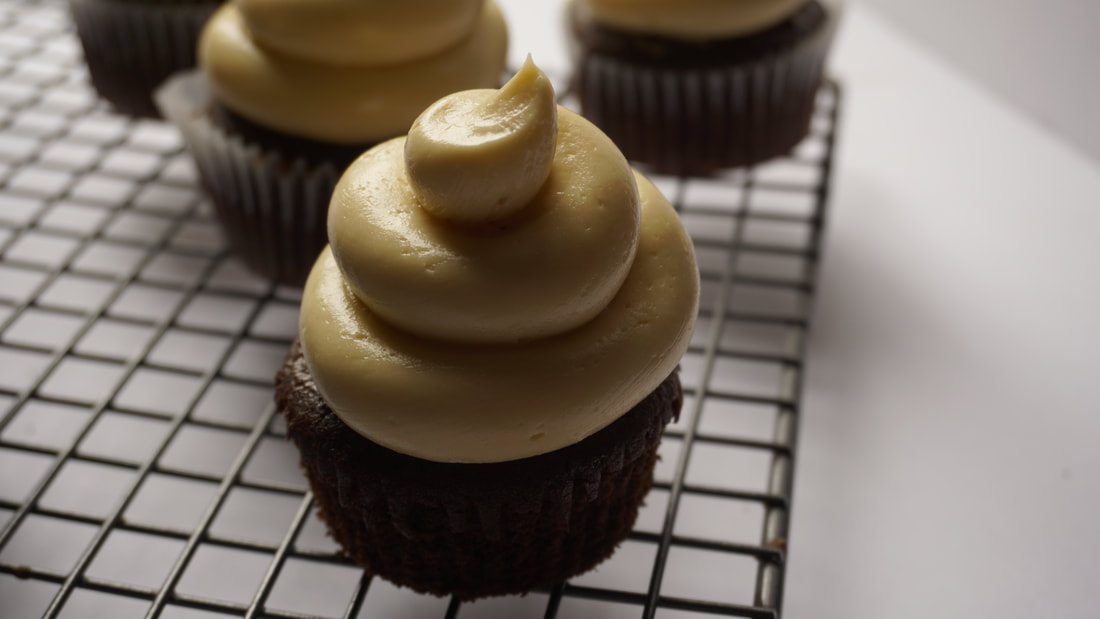 ingredients 400 grams/2 cups granulated sugar or for a low-glycemic option use date paste (see page xx) 300 grams/2 1/4 cups flour mix #3 (page xx) 100 grams/1 1/4 cups alkalized cocoa powder 20 grams/5 tsp baking powder 5 grams/1 tsp kosher salt 200 grams/⅘ cups your favourite milk alternative5 200 grams/7/8 cup butter or for dairy-free option use coconut oil 3 large whole eggs 20 grams/4 tsp pure vanilla extract Method Before beginning, make sure that all of the ingredients are at room temperature.
Preheat an oven to 177°C (350°F). Sift together the sugar, flours, cocoa powder, baking powder and kosher salt. Make a well in the centre. Combine the milk, butter/oil, eggs and vanilla. Pour this wet mixture into the well of the dry ingredients. Whisk until combine. Beat for another two minutes until slightly aerated. Divide the batter amongst the 24 cups in your muffin tin. This batter is so perfect that it is not necessary to line your muffin tin; however, if you have cute cupcake liners that you just would love to use, go for it! Bake until the cupcakes spring back when lightly touched in the centre, or a toothpick comes out nearly clean, about 20 to 25 minutes. 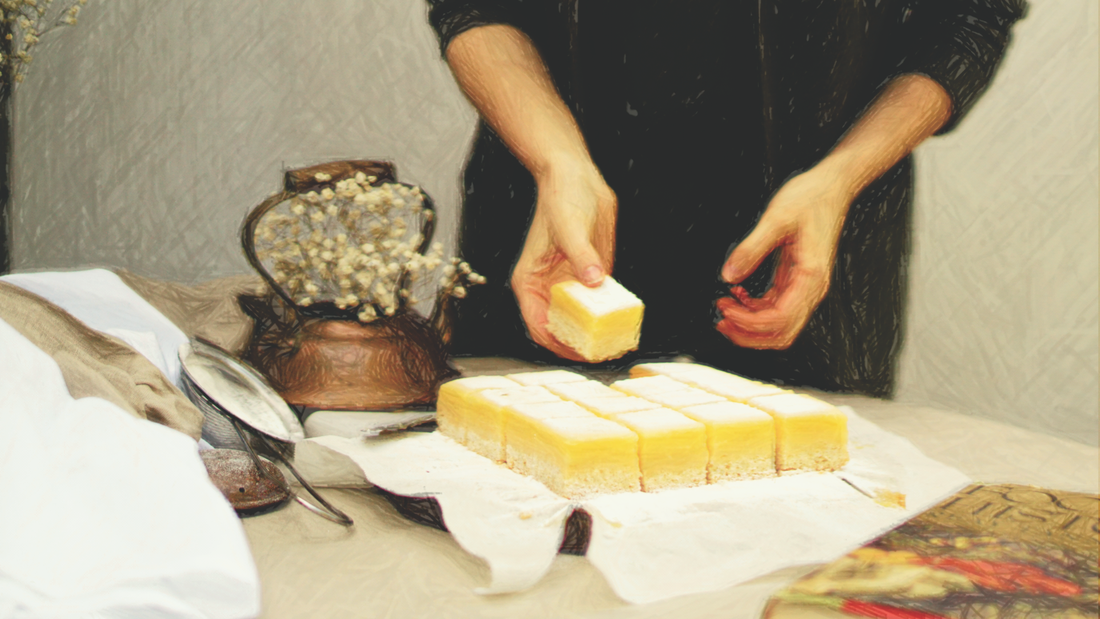
- BAKED -
HONEY LEMON SQUARES
October 29th, 2020
Lemon squares are the dessert that I associate the most closely with an English tea party. I cannot say I understand why because I have never seen them served at an English tea or at my childhood tea parties. But one thing I know is that they go well with tea particularly Earl Grey.
However, these HONEY-LEMON SQUARES are marvelous with chamomile tea. I mean really. I am thinking of trying and adaptation of this recipe where I steep chamomile in the lemon filling so that these are chamomile honey lemon squares!!! It sounds mouth wateringly delightful to me. What about you? in this recipe
Here are some of the best deals for ingredients and equipment relevant to this recipe. You will need these items for this recipe, so at now extra cost you, if you purchase one of these products then I earn a small commission that helps fund more posts like this one!
Note: If you cannot see the ad links above it is because your have an ad block or tracker program on. Temporarily disable them to be able to click the links.
gluten-free honey lemon square recipe
#honeylemon #lemonsquares #lemonbars #gluten-free
method
shortbread layer
110 grams flour mix #3 (40%/44 grams brown rice flour, 40%/44 grams sweet rice flour, 20%/22 grams arrowroot starch/flour) 55 grams arrowroot starch/flour 2 millilitres/1/3 tsp baking powder 75 grams shortening 55 grams granulated sugar 2 each egg yolks, room temperature 2.5 grams/1/2 tsp pure vanilla extract lemon curd layer 4 large eggs 150 grams liquid honey 150 grams granulated sugar 150 grams lemon juice, fresh 75 grams flour mix #3 (page xx) garnish confectioners’ sugar as needed ingredients
1. To make the shortbread layer: Preheat the oven to 177°C (350°F). Line a 20 centimetre (eight inch) square cake pan with enough parchment paper to cover the bottom and sides of the pan.
2. Sift dry ingredients together. 3. In a separate bowl, cream the shortening and sugar. Stir in the egg yolks and vanilla. Mix in the dry ingredients. With damp hands, press the dough evenly to fill the bottom of the pan. Chill the crust in the freezer for 15 minutes. Bake for 15 to 18 minutes. 4. Meanwhile, make the lemon layer: In a med-ium bowl, mix together the flour, granulate sugar and lemon juice until smooth. Add the remaining ingredients and whisk until homogenous. Remove the pan from the oven. Pour the lemon mixture over the hot crust. Reduce the oven temperature to 160°C (325°F) and bake until filling is set and edges are slightly golden brown, about 30 minutes. 5. Let cool completely on a wire rack. Grip the paper, lift out the dessert, and set on a cutting board. With a sieve, dust with confectioners; sugar. Cut into squares. 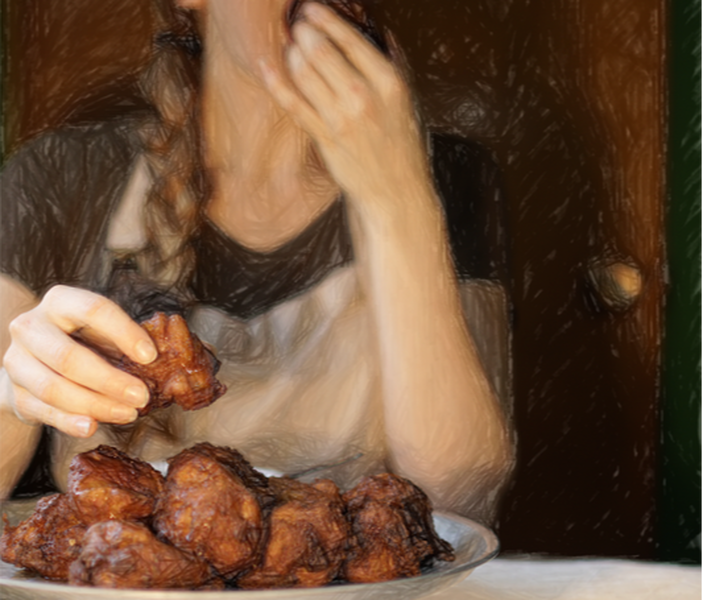
- DEEP FRY -
mom's apple fritter recipe
October 22nd, 2020
Do you have that special food that transports you back to a time when you were young? I mean not that your old. No ones implying that. (Awkward cough)
When I was younger, my mom made apple fritters often. Honestly, she probably didn't make them as often as I think but in my clouded memory she made them almost every week. They were warm, soft, juicy, dusted lightly with confectioners' sugar and they just begged you to eat another one. This recipe isn't truly my mother's recipe because sadly hers weren't gluten-free. But at the time that either wasn't a problem or hadn't progressed into one. HOWEVER, the first thought I had when the first fritter hit the hot fryer oil was "THESE SMELL JUST LIKE WHEN I WAS FIVE!" Nothing brings sweeter smile than memories of simple pleasures of childhood. I don't care that this wasn't my mom's recipe, she didn't invent the recipe (I think she used the Joy of Cook) but what I tasted when I ate the first test fritter from the gluten-free, dairy-free fritter recipe below was a taste of home. Perhaps your mom or grandma never made apple fritters. If so I am sorry for your loss. But it is not too late!!! These are just a complete comfort food it literally doesn't matter how old you were when you tried your first bite, it will still be love at first bite. What is more is once you too fall in love with these tender and crispy morsels you can share them with family and friends and become part of a precious memory for someone else. So share the love my friend and enjoy baking. Until next time I will be seeing you around the Life After Gluten. Your blogger and friend, Tamara Green in this recipe
Here are some of the best deals for ingredients and equipment relevant to this recipe. You will need these items for this recipe, so at now extra cost you, if you purchase one of these products then I earn a small commission that helps fund more posts like this one!
Note: If you cannot see the ad links above it is because your have an ad block or tracker program on. Temporarily disable them to be able to click the links.
gluten-free apple fritter recipe
#gluten-free #dairy-free #applefritters #autumnrecipe
ingredients
100 grams chickpea flour
100 grams flour mix #3 (20 grams arrowroot starch/flour, 40 grams brown rice flour, 40 grams sweet rice flour) 10 grams/4 tsp pysllium husk powder 8 grams/2 tsp double-acting baking powder 3 grams/1 1/2 tsp cinnamon, ground pinch of cloves and nutmeg 1 gram/1/4 tsp kosher salt 45 grams demerara style brown sugar 45 grams apple cider 3 large eggs, room temperature 5 grams/1 tsp apple cider vinegar or lemon juice 6 each Granny Smith apples apple cider glaze 100 grams confectioners’ sugar 50 grams apple cider 2 grams/1/2 tsp cinnamon, ground method
Heat a couple of inches of vegetable oil in a heavy pot or Dutch oven over medium to medium-low heat until a deep-fry thermometer inserted in the oil registers 350 degrees F.
In a mixing bowl, combine the chickpea flour, flour mix #3, pysllium husk powder, double-acting baking powder (*see note), cinnamon, cloves, nutmeg, and kosher salt. In a separate bowl, beat the eggs with a fork, then add the apple cider, demerara style brown sugar and apple cider vinegar. Gently fold the dry and wet ingredients together until just combined. Fold in the apples, adding enough to make a very chunky batter. Lastly fold in the baking powder. Drop heaping tablespoons of batter into the hot oil, 6 to 8 at a time. Fry until golden brown, 4 to 6 minutes. Remove and drain on paper towels. Dust generously with powdered sugar and serve up with warm sausage and bacon! OR glaze them with the apple cider glaze which will just make the apple flavour POP so much more, I mean really it makes a terrific difference. To make the apple cider glaze: Simply whisk together the confectioners' sugar, apple cider and cinnamon.
*NOTES: If you are using single acting baking powder than add it at the very end of the recipe, after the apples have been folded in, and fry immediately.
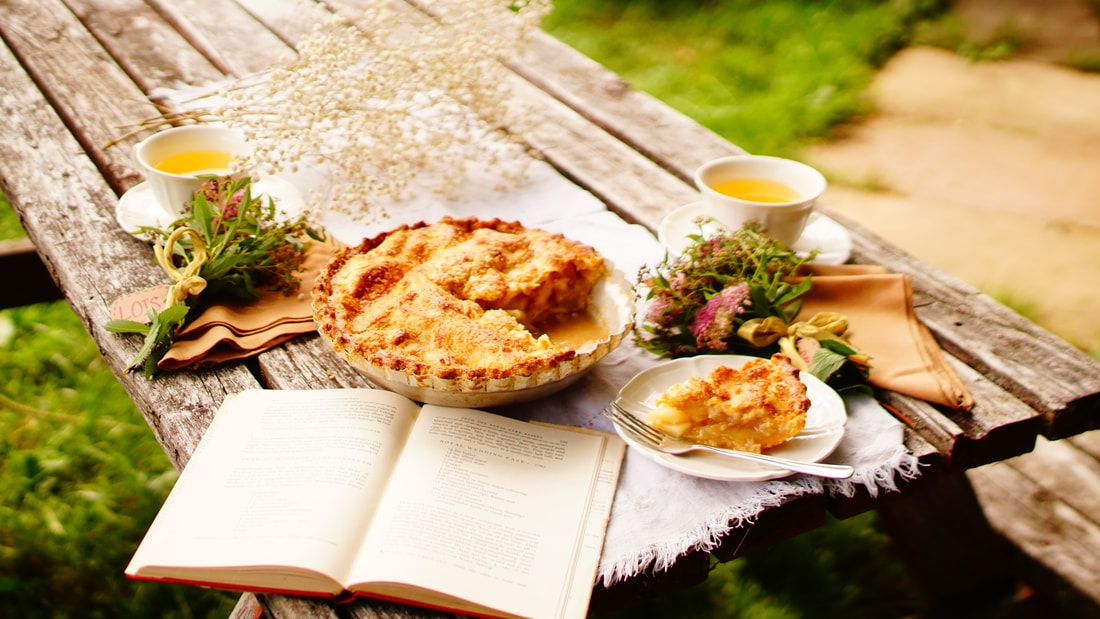
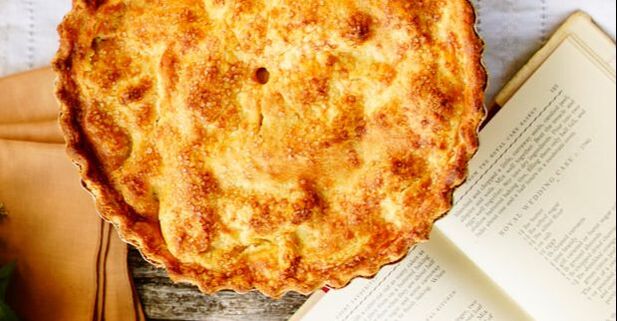
Apple pie is one of those time tested recipes. The earliest recipe for this delightful treat dates back to 14th century England (https://en.wikipedia.org/wiki/Apple_pie). At the time sugar was a rare and expensive commodity so the pie was in fact unsweetened (which I prefer) and the pastry crust a dim membrane with which the apples were merely encase. In fact it was not meant to consumption which is probably why the English gave it that grave name of "cofyn" (a.k.a. coffin).
Well, I am happy to say that delicious pie pastry has grown an integral part of a good pie. Not merely a grim case but a flakey and buttery delight of it's own. The gf pie crust recipe used here was posted separately as a remind that you can make baking easy on yourself by prepare things like pie dough ahead of time that way you are only spending short burst of time baking.
why this recipe works
By par-cooking your apples in a controlled manner, the activity of a enzyme which converts pectin into a more heat stable form, increases in activity between the temperature of 140°F and 160°F. “Very much like curing the cement mortar in between the bricks in a wall and allowing... it [to] fully harden. Once your apples slices have been treated in such a manner, subsequent baking will tenderize them, but still allow them to maintain their shape.” - J. Kenji Lopez, The Food Lab shopping list
Here are some of the best deals and niftiest pie plate, I found on amazon. You will need these items for this recipe, so at no extra cost you, if you purchase one of these products then I earn a small commission that helps fund more posts like this one!
The Best Gluten-Free Apple Pie Recipe
ingredients
gf-good-n-flaky-pie-dough.html1 recipe (click here for recipe) flakey pie crust, divide into two equal discs
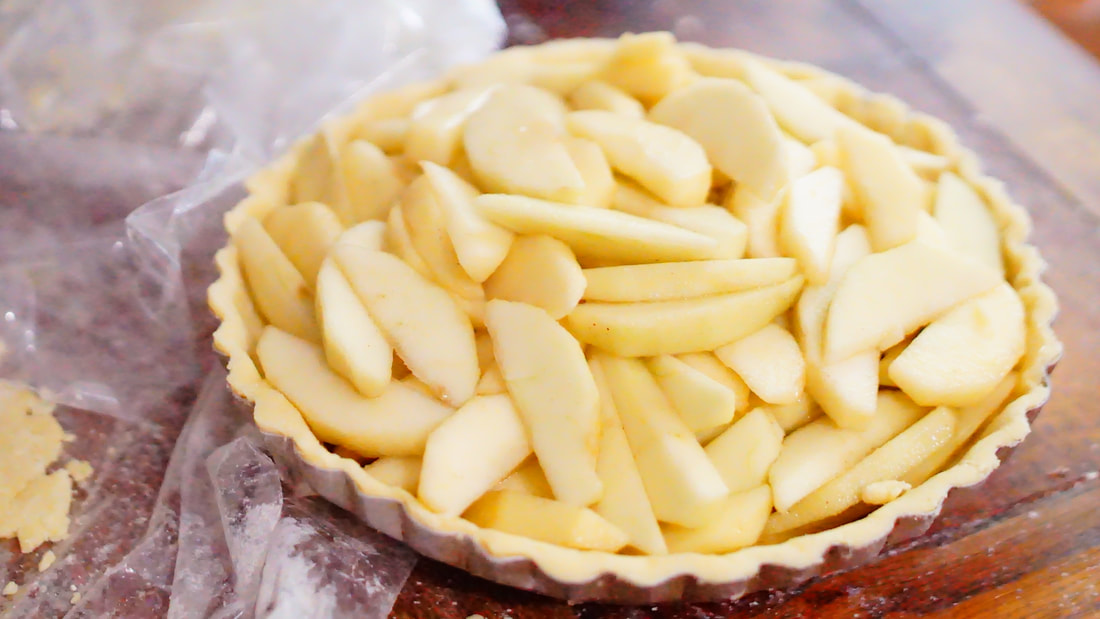
1.6 kilograms granny smith apples 1 litre apple cider or water 100 grams granulated sugar 15 grams arrowroot starch/flour 1.25 millilitres ground cinnamon 1.25 millilitres kosher salt garnish 1 large egg, lightly beaten coarse cane sugar or xylitol method
Preheat the oven to 220°C (425°F).
Peel and core apples. Place the apple peels, and cores in a pot with the apple cider. Bring to boil. Meanwhile, begin slicing your apples into six millimetre (1/4 inch) wedges. Place your apple slices in a large mixing bowl. Strain the peels and cores out of the cider. Pour the boiling hot cider over top the apple slices. Cover and set aside at room temperature for ten minutes. Drain apples well (reserve the liquid for a cup of extra apply cider) and let sit in a colander in the sink, tossing occasionally until completely dry, about ten minutes. In a large bowl whisk together the sugar, arrowroot starch, cinnamon, and salt. Toss the apples in the sugar mixture. Set aside. Between two sheets of parchment paper, or thick poly plastic, roll Roll one disc of pie dough into a circle roughly 30 centimetres (12 inches) in diameter. Peel back the paper/plastic occasionally to keep it from sticking on the dough. Flour any sticky spots on the dough as needed. Transfer to a nine inch pie plate. Brush the rim of the pie with some of the lightly beaten egg. Add the filling. Set aside in the refrigerator. Roll the remaining disc of pie dough into a circle 30 centimetres (12 inches) in diameter. Transfer to the top of the pie. Using a paring knife trim the edges of both crusts until they overhang the edge of the pie plate by just over a centimetre (1/2 an inch) all the way around. Fold the edges of both pie crusts down and together, tucking them in between the bottom crust and the pie plate and working your way around the pie plate until everything is well tucked. Use the forefinger of your non-dominant hand and the thumb and forefinger of your dominant hand to crimp the edges. Use a pastry brush to brush an even coat of lightly beaten egg all over the top surface of the pie. Cut a few slits in the top crust with a sharp knife for ventilation. Sprinkle evenly with a bit of coarse sugar. Bake until lightly golden brown, about 20 minutes. Reduce heat to 190°C (375°F) and continue baking until deep golden and filling is bubbling, about 25 minutes longer. Remove from the oven and allow ro cool at room temperature for at least two hours before serving. 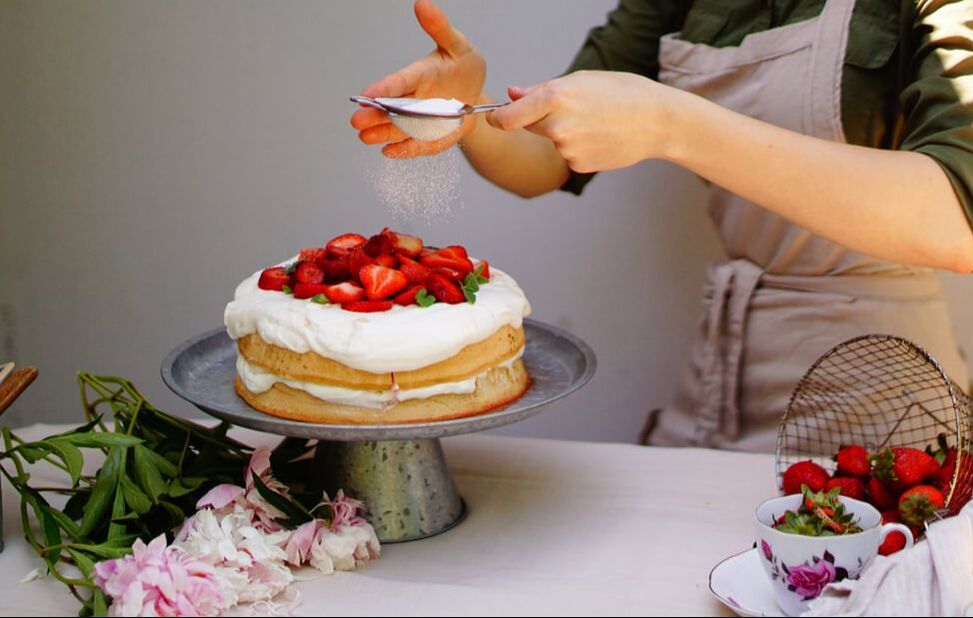
grocery shopping list
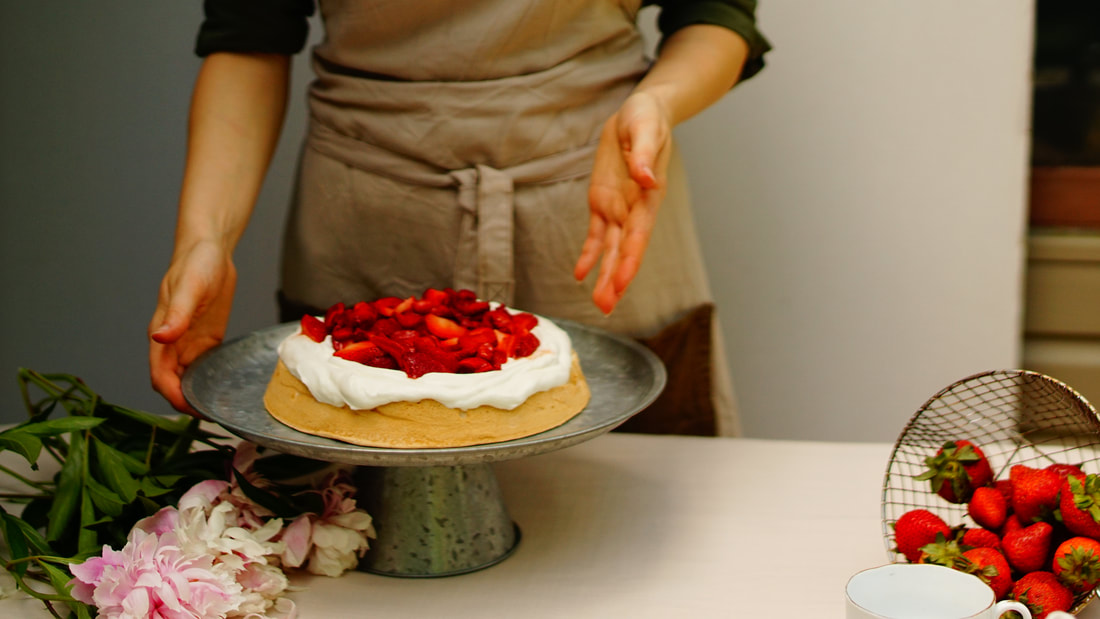
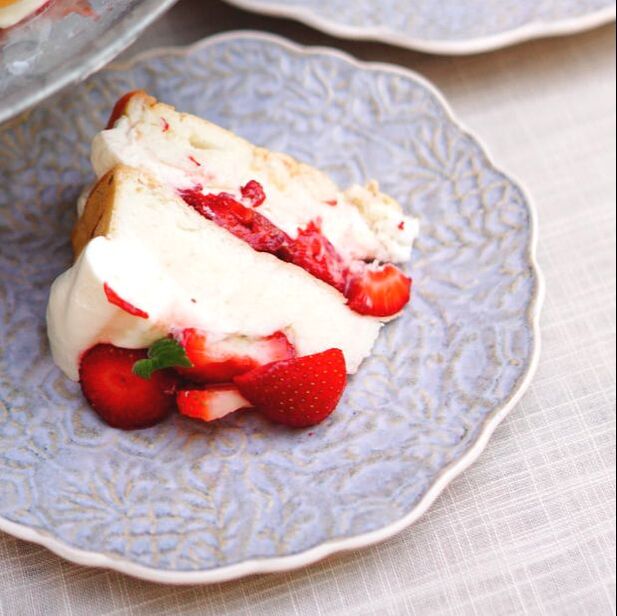
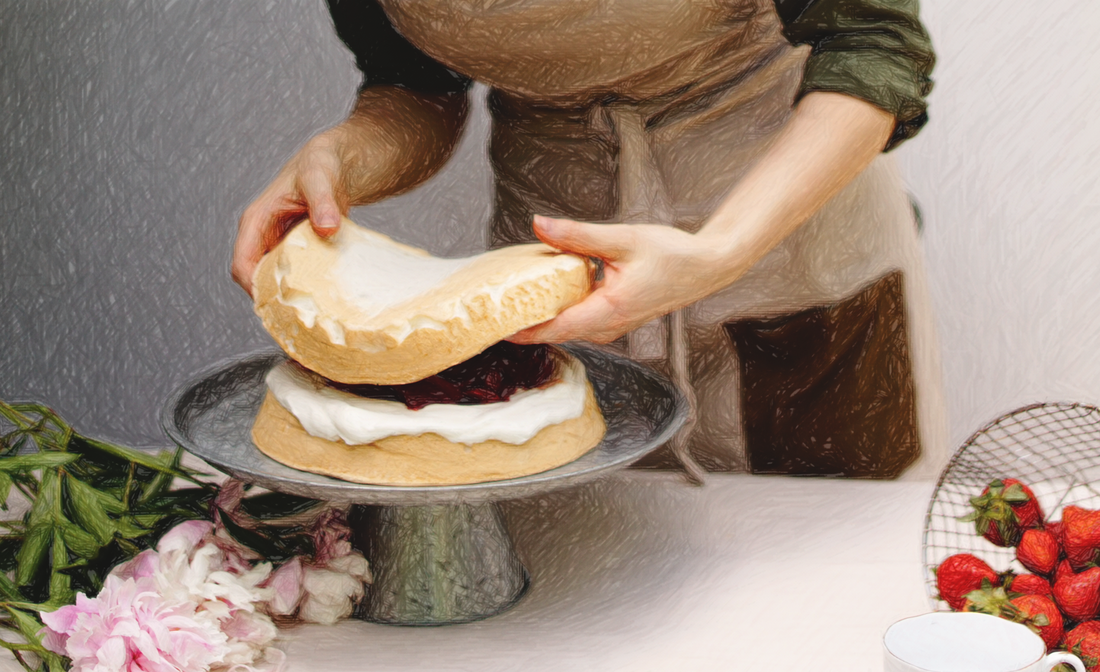
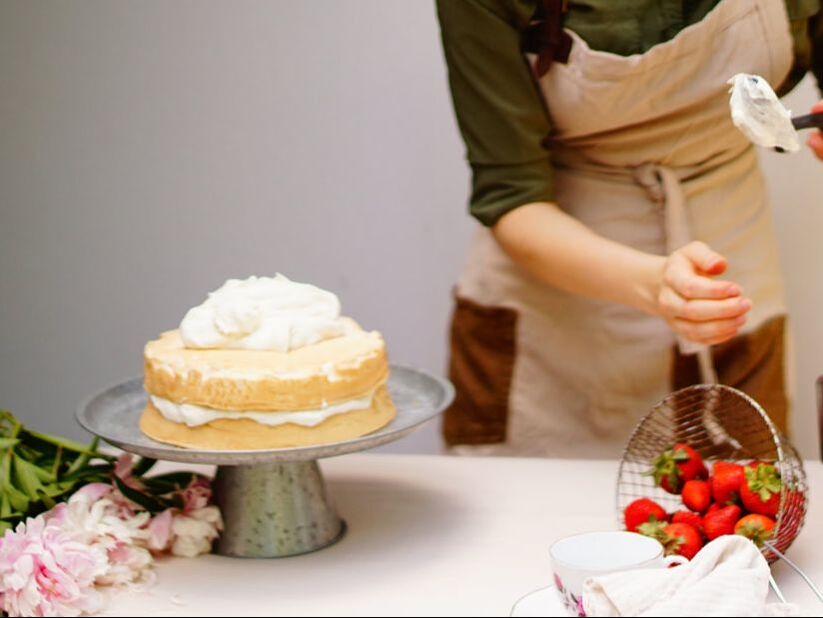
gluten-free strawberry shortcake
|


|
angel food cake
see last week's gluten-free angel food cake recipe poached strawberries 1 pints strawberries, washed and trimmed 250 millilitres pomegranate juice whipped sour cream 300 grams heavy cream 90 grams confectioners’ sugar, sifted 5 grams Madagascar vanilla extract 200 grams sour cream |
|
method
To make the whipped sour cream: Beat the cream to soft peak. Add the confectioners’ sugar. Continue whipping until a medium-stiff peak is achieved.
In a separate bowl, whisk together the sour cream and vanilla. Fold into the whipped cream. For best results, cover and let chill a full hour.
Spread half the whipped sour cream over one cake. Garnish generously with poached berries. Layer with a second cake. Spread the remaining whipped sour cream on top. Garnish with the remaining poached berries and syrup. Serve chilled.
|
This is cake delivers everything you could want from an angel food cake (unless you want it to deliver a large pepperoni pizza, in that case I think you are asking to much of any cake).
After first when this cake is remove from the oven it will be very tall and beveled. Upon cooling it will deflate a little. Do not worry. For me it leveled off completely which was great because then I didn't need to trim it level. Check back next week for a strawberry shortcake made with this elegant cake. |
|
grocery shopping ingredients
|
|
|
|
ingredients
310 grams granulated sugar
5 grams cream of tartar
10 grams Madagascar vanilla extract
48 grams brown rice flour
48 grams sweet rice flour
24 grams arrowroot starch
a pinch of kosher salt
method
2. Whip the egg whites and cream of tartar in a stand mixer for two minutes, until light and frothy. Slowly stream the sugar into the egg whites, while beating. Continue beating until medium-stiff peak. Fold in the vanilla.
3. Gently fold the flour into the egg whites in three stages. With the last stage also fold in the salt.
4. Divide the batter between the two pans. Bake for 12 by 15 minutes. Gently remove from the oven. Let cool completely before removing from the pans.
| 02/13/2016 | 20 Min Prep | 30 Min Cook |
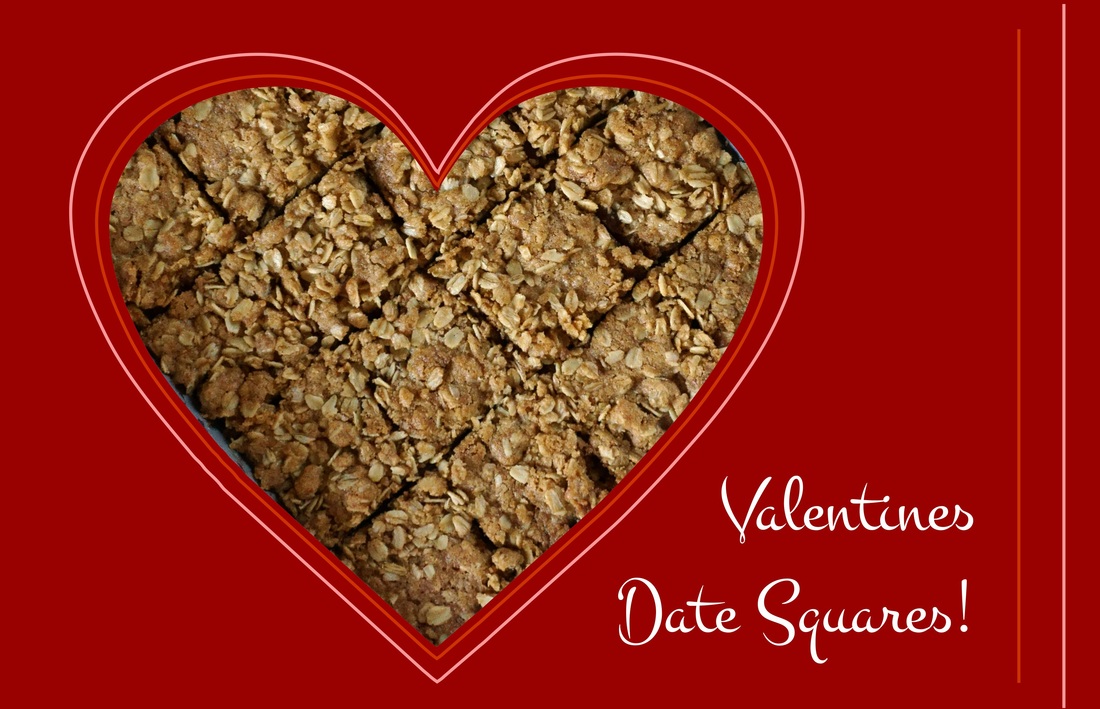
Also I hope you appreciate my pun in choosing "date" squares for my valentine's day recipe post, the day where a lot of people go on "dates!"
| Ingredients: 1 cups Flour 1 1/2 cup Rolled Oats 3/4 tsp Baking soda 1/2 tsp Salt 3/4 cup Brown Sugar 3/4 Butter (1/2 tsp cinnamon) | Filling: 1 lb. Dates, after pitting 1 cup Water 1 tsp Extract (Almond, Lemon, Orange) (1/2 tsp cinnamon) (1/4 tsp Cloves) (1/4 tsp Allspice) |
In a small saucepan over medium heat, combine the dates and water. Bring to a boil, and cook until thickened. Stir in lemon juice, and remove from heat. Puree.
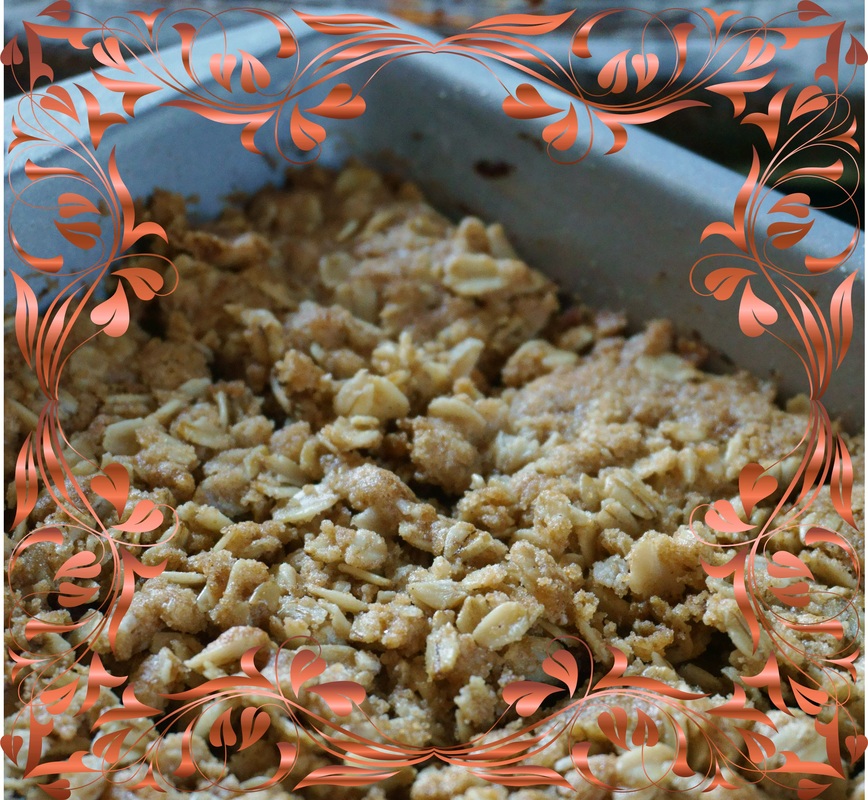
In a large bowl, combine oats, flours, salt, brown sugar, and baking soda. Mix in butter until crumbly. Press half of the mixture into the bottom of a 9" square baking pan.
Spread half the crisp in the pan and press firmly. Layer with the date mixture. Cover with the remaining crisp and press lightly. Bake for about 30 minutes or until the crisp is golden brown. Let cool on a wire rack completely. Unmould and cut into 9 to 16 squares.
| 01/16/2015 | 3 Min Read | 4 Hr Prep | 0 Min Cook Time | Comments |
From my experience there are three keys to pastry:
- Keep everything ice cold (not coldish, but as freezing cold as you can get). For this reason I recommend making pastry in the winter or fall. Freeze your rolling pin, spoons, measuring cups, work dough quickly so as not to let it warm up in at room temperature, wash your hands with cold water, and handle the dough as for as little as possible.
- In as far as it depends on you keep from ripping/tearing/cutting dough.
- Try not to "heal" any tears in the dough by smoothing them over this counteracts all your labourous work to roll it out 4 times (this process of rolling and folding is suppose to achieve something like 8,000 thin distinct layers).
First combine into a container, with a tight fitting lid:
- 3/4 cup Oat Flour
- 3/4 cup Sorghum Flour
- 3/4 cup Arrowroot Starch
- 3/4 cup Potato/Tapioca Starch
MAKING THE DOUGH
Sift into a food processor:
- 2 cups Flour mixture
- 1/3 cup Pureed cooked beans
- 4 tbsp. Butter, salted and very cold cut into 1 cm. cubes
- 2/3 cup Ice cold water
THE BUTTER PACKET
Cut into 1/2-inch cubes and freeze for 5 minutes:
- 1 1/2 cups Butter, salted
- 1 cup Flour mixture
ROLLING THE PASTRY
Remove the dough square from the refrigerator (leaving the butter packet in the refrigerator) and place on a sheet of lightly floured parchment paper (or wax paper or plastic wrap). Flour the top of the dough square and place another sheet of parchment paper on top of the dough. Roll out dough into a 13x8-inch rectangle, with the 8-inch side facing you. Brush off excess flour. Remove butter packet from the refrigerator, unwrap it, center it on one half the dough. Fold the over the butter, completely covering it (remove the top sheet of parchment paper and try lifting the bottom sheet half way the loosen dough). Turn the dough so that the folded edge is on the left, with one of the sealed sides (where the dough was pressed together) on the right, to change the direction for the next roll.
Flour as needed from here on. Place the top sheet of parchment paper back on. Roll the dough package into a 17x7 1/2-inch rectangle, keeping a short facing you. Slide a metal dough scraper or spatula or a large knife under the bottom of third of the third of the dough and fold it up over the center of the dough. Slide the knife under to third of the dough and fold it down on the top of the first third, as though you were folding a business letter. This rolling and folding is called a single turn.
Rotate the dough so that the folded edge is on the left, and roll the dough out once more into a 17x7 1/2-inch rectangle. This time fold the bottom end up and the top end down to meet the center (do not overlap), then fold the dough in half, to make 4 layers of dough. This double fold is the second turn. Mark your dough with two finger imprints to remind you that you have given the dough two turns. Wrap up the dough and refrigerate for 45 minutes.
With the folded edge on the left, roll the dough out again to 17x7 1/2-inches. Make another double fold, for the third turn. Mark your dough with three finger imprints, wrap the dough, and refrigerate for 45 minutes.
Roll the dough out and make another double fold for the fourth turn. Mark the dough with 4 finger imprints, wrap, and refrigerate for at least an hour before using.


Happy to meet you,
If you are that person with a million and one allergies and intolerance I am there to say you are not alone! Life After Gluten can be better than life with wheat. Living lactose-free since 2007 and gluten-free since 2013. Also intolerant and/or allergic to mushrooms, soy, and yeast.
Your Blogger, Tamara Green
Categories
All
About Gluten
Autumn
Baking Advise
Best Hot Chocolate
Beverage
Bread
Breakfast
Cake
Charity
Christmas
Cookbook
Cookie
Dairy Free
Dairy-free
Dessert
Dinner
Grocery List
Holiday's
Hungarian
Lunch
Menu
Pastry
Pie
Plating
Product Review
Recipe
Review
Squares
Starting GF Diet
Summer
Thanksgiving
Utensils
Video
 RSS Feed
Archives
March 2024
March 2022
February 2022
November 2021
June 2021
December 2020
November 2020
October 2020
September 2020
August 2020
July 2020
May 2017
April 2017
August 2016
June 2016
May 2016
April 2016
March 2016
February 2016
January 2016
December 2015
November 2015
October 2015
September 2015
August 2015
July 2015
June 2015
May 2015
April 2015
