|
- LEFTOVERS- Christmas Leftovers Omelette December 17th, 2020
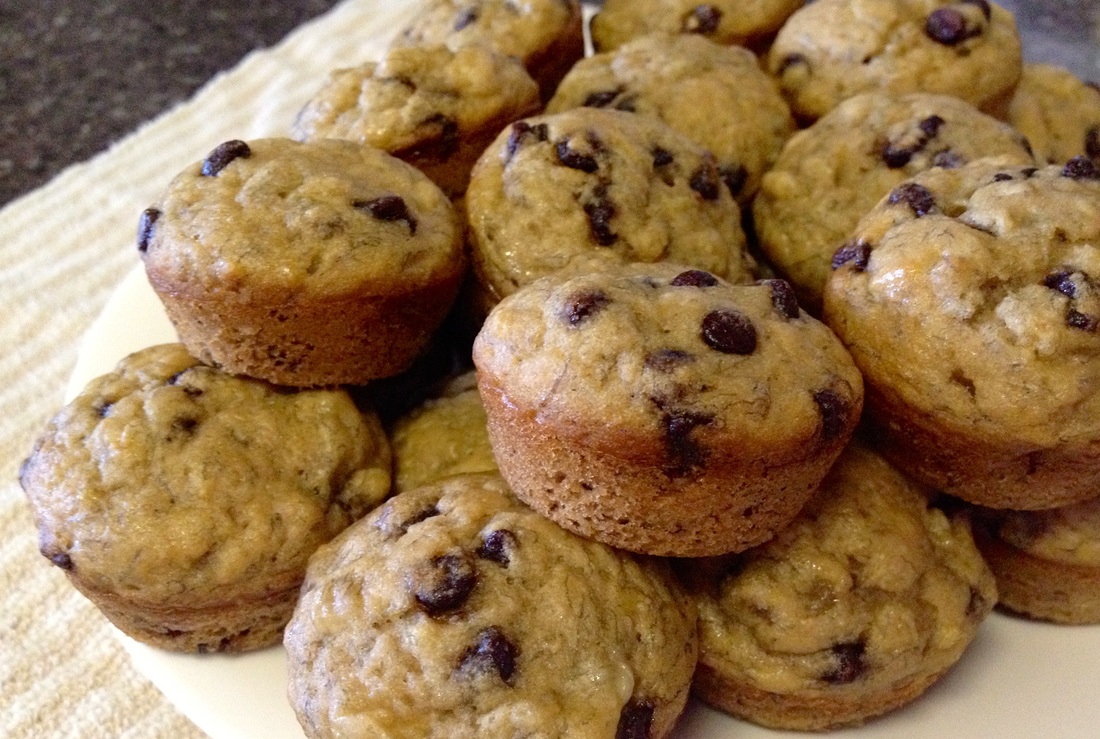
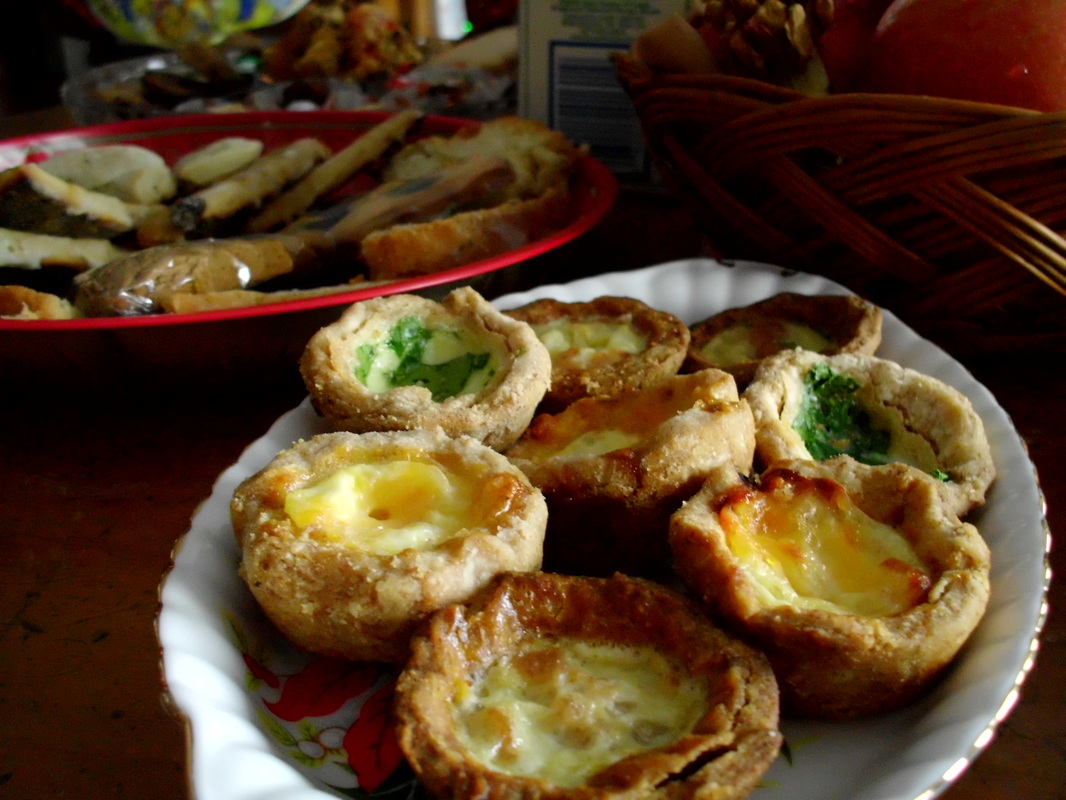
Breakfast has never been part of my family's Christmas tradition. I mean really we just snack all morning and afternoon until the Christmas dinner is on the table. Usually our snack is comprised of mini quiche, sausage rolls, muffins, and naturally Christmas cookies. However, while I have a very nice mealy pie dough recipe, I was thinking about how there is not much difference between a quiche and an omelette. Isn't a omelette essentially a quiche without crust an less cream? And by that token would that just mean that omelette is the natural gluten-free, dairy-free alternative to your traditional quiche? This that benefit in mind, there is the added bonus that this recipe use holiday leftovers! It uses gravy and the fixings in this omelette are essentially stuffing minus the bread. If you made more of my GF Parsnip Stuffing recipe for Christmas than you needed at the dinner table than this omelette is your way of re-utilizing those leftovers in a fun and tasty delight! Christmas Omelette Recipe Ingredients 4 large eggs 1/2 cup gravy 1 small onion, finely diced 1 medium carrot or parsnip, finely diced 1 rib celery, finely diced 2 cloves garlic, minced 1/2 bunch fresh parsley, chopped 1/2 bunch fresh sage, chopped 1 pinch all-spice and white pepper 1 cup leftover GF Parsnip Stuffing, click for recipe (optional) salt to taste Method Preheat your oven to 375F/190C.
1. In a medium mixing bowl, beat the eggs with the gravy until perfectly homogenous. Set aside. 2. Heat a medium oven proof sautepan over medium-low heat until a droplet of water sizzles in the hot pan. Grease your pan. Add the onions and caramelize them, stirring only occasionally; This will take 15 minutes. Add the carrots, celery and garlic. Continue to cook for 5 minutes until the vegetables have little beads of water on their surfaces (this is referred to as "sweating" your veg). 3. Remove from the heat. Stir in the parsley, sage, all-spice, white pepper and salt. While continuing to stir, slowly mix in the egg mixture into the onion mix. 4. Finish cooking the oven until set. Garnish as desired.
Comments
- DEEP FRY -
mom's apple fritter recipe
October 22nd, 2020
Do you have that special food that transports you back to a time when you were young? I mean not that your old. No ones implying that. (Awkward cough)
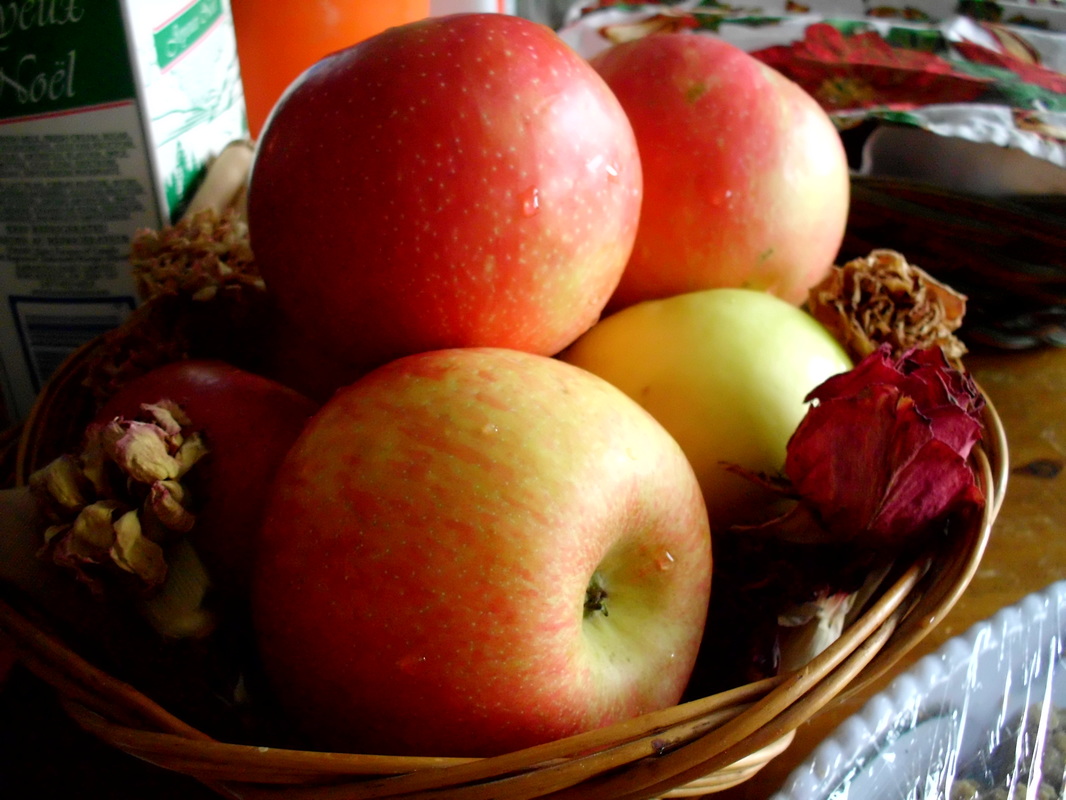
When I was younger, my mom made apple fritters often. Honestly, she probably didn't make them as often as I think but in my clouded memory she made them almost every week. They were warm, soft, juicy, dusted lightly with confectioners' sugar and they just begged you to eat another one. This recipe isn't truly my mother's recipe because sadly hers weren't gluten-free. But at the time that either wasn't a problem or hadn't progressed into one. HOWEVER, the first thought I had when the first fritter hit the hot fryer oil was "THESE SMELL JUST LIKE WHEN I WAS FIVE!" Nothing brings sweeter smile than memories of simple pleasures of childhood. I don't care that this wasn't my mom's recipe, she didn't invent the recipe (I think she used the Joy of Cook) but what I tasted when I ate the first test fritter from the gluten-free, dairy-free fritter recipe below was a taste of home. Perhaps your mom or grandma never made apple fritters. If so I am sorry for your loss. But it is not too late!!! These are just a complete comfort food it literally doesn't matter how old you were when you tried your first bite, it will still be love at first bite. What is more is once you too fall in love with these tender and crispy morsels you can share them with family and friends and become part of a precious memory for someone else. So share the love my friend and enjoy baking. Until next time I will be seeing you around the Life After Gluten. Your blogger and friend, Tamara Green in this recipe
Here are some of the best deals for ingredients and equipment relevant to this recipe. You will need these items for this recipe, so at now extra cost you, if you purchase one of these products then I earn a small commission that helps fund more posts like this one!
Note: If you cannot see the ad links above it is because your have an ad block or tracker program on. Temporarily disable them to be able to click the links.
gluten-free apple fritter recipe
#gluten-free #dairy-free #applefritters #autumnrecipe
ingredients
100 grams chickpea flour
100 grams flour mix #3 (20 grams arrowroot starch/flour, 40 grams brown rice flour, 40 grams sweet rice flour) 10 grams/4 tsp pysllium husk powder 8 grams/2 tsp double-acting baking powder 3 grams/1 1/2 tsp cinnamon, ground pinch of cloves and nutmeg 1 gram/1/4 tsp kosher salt 45 grams demerara style brown sugar 45 grams apple cider 3 large eggs, room temperature 5 grams/1 tsp apple cider vinegar or lemon juice 6 each Granny Smith apples apple cider glaze 100 grams confectioners’ sugar 50 grams apple cider 2 grams/1/2 tsp cinnamon, ground method
Heat a couple of inches of vegetable oil in a heavy pot or Dutch oven over medium to medium-low heat until a deep-fry thermometer inserted in the oil registers 350 degrees F.
In a mixing bowl, combine the chickpea flour, flour mix #3, pysllium husk powder, double-acting baking powder (*see note), cinnamon, cloves, nutmeg, and kosher salt. In a separate bowl, beat the eggs with a fork, then add the apple cider, demerara style brown sugar and apple cider vinegar. Gently fold the dry and wet ingredients together until just combined. Fold in the apples, adding enough to make a very chunky batter. Lastly fold in the baking powder. Drop heaping tablespoons of batter into the hot oil, 6 to 8 at a time. Fry until golden brown, 4 to 6 minutes. Remove and drain on paper towels. Dust generously with powdered sugar and serve up with warm sausage and bacon! OR glaze them with the apple cider glaze which will just make the apple flavour POP so much more, I mean really it makes a terrific difference. To make the apple cider glaze: Simply whisk together the confectioners' sugar, apple cider and cinnamon.
*NOTES: If you are using single acting baking powder than add it at the very end of the recipe, after the apples have been folded in, and fry immediately.
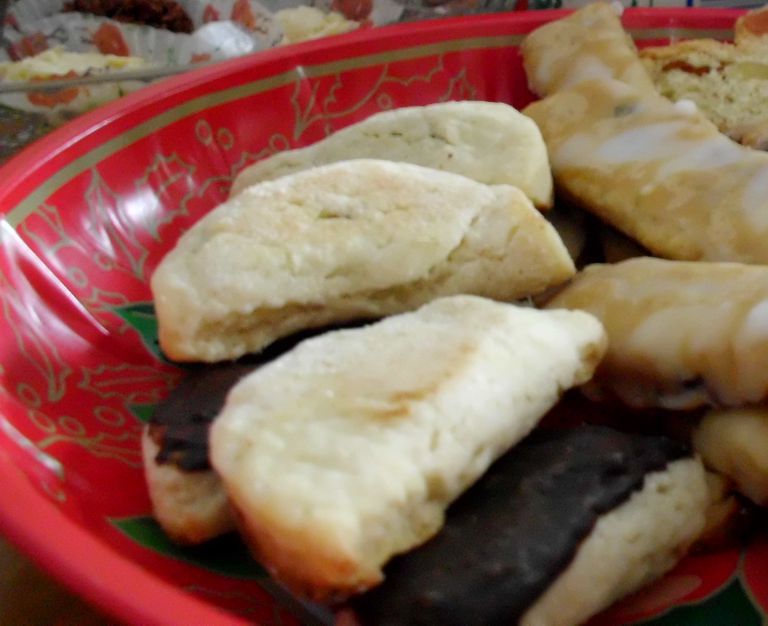
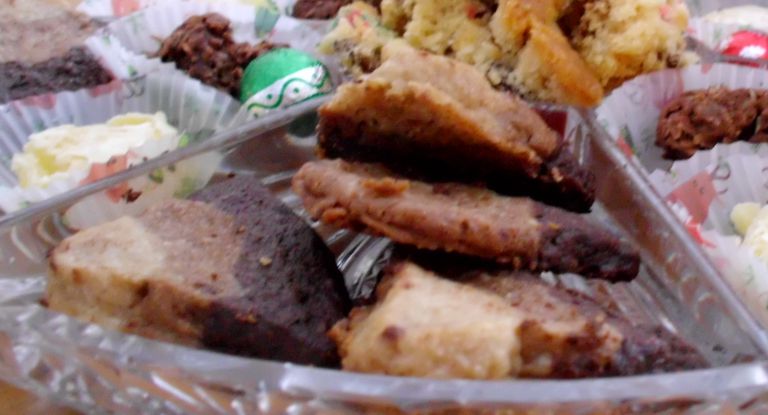
Christmas baking traditionally starts in November for the Green family. We like to work on each cookies, roll, and beverage one by one with out rush. However, in recent years we've been starting it later and later, this Saturday will be our first day making any Christmas goodies. Here's a list of what Christmas baking can and usual does include in the Green family house. Gingerbread (iced and un-iced)
Yes I know that's a lot of baking! But we may not make everyone of those items each year. But please feel free to share your Christmas baking traditions with me and all the other readers in the comments below. This post was merrily brought you by, Tamara Green
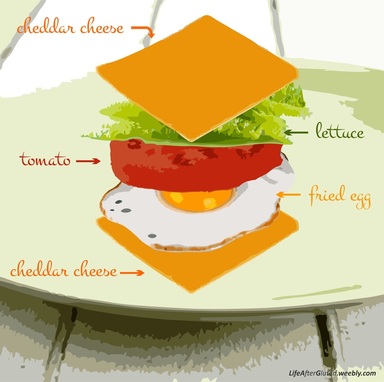 The other day, my mom and I were in town and decide to stop off at a little restaurant for lunch. They had no gluten free sandwiches so I decided to have there “low carb” breakfast. When it came so did a side of creativity. I took a few bites of my sausage and realized that this plate of sausage, fried eggs, broad cheddar cheese, lettuce, and tomato slices could easily be turned in to a GF sandwich with cheese bread! How so? Simple layer a slice of cheese with one egg, one slice tomato, one leaf lettuce and top with another slice of cheese. Now you have a fried egg sandwiched in cheese! It turned out grand, the cheese held together up until the very last bite. Go ahead try it next time you're out, almost all restaurants have these basic items. Just make sure the egg isn't too hot when you compile your sandwich r the cheese will begin to melt. Remember gluten free doesn't mean your limited you're free! So use a little creativity and you'll enjoy your meals a lot more. God bless your whole face!
Sincerely, Tamara Green
Hey you, I see that gleam in your eye: You're adventurous. You're hungry for a foo challenge. You're looking to the perfect recipe to run up and slap you in the face and say “I'm the one you've be craving all our life! Right?
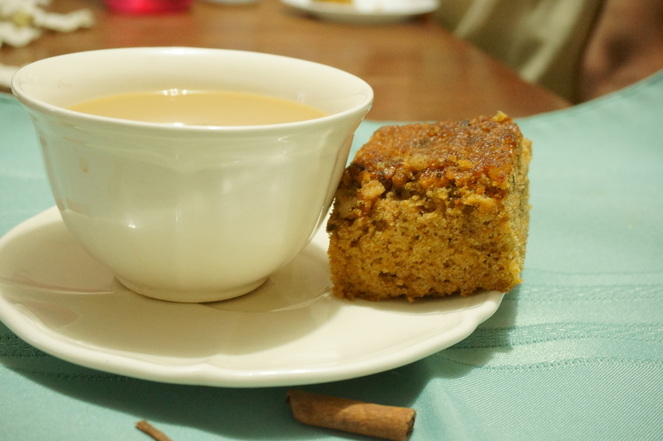
So I am deeply sorry, I can't help you with the recipe slapping part (one because I'm against violence in the kitchen and two because I am not a recipe), BUT I can help you with the adventure part, and the recipe challenge part, and, in my humble opinion, the crave-able recipe part! So how can I help you? By letting you help me! That's right, I kid you not, (to quote my brother). I'm going to be away for the weekend (the 15-16th) so I challenge you to: EAT CAKE! That's right, I challenge you to make the following carrot cake recipe and leave me a comment about your honest opinions on the recipe (e.g. taste, texture, how does it pale in the light for your family carrot cake recipe if so can you share you recipe with me?). So I challenge to to make, eat, and talk cake (just not with your mouthful)! Are you are ready to take the challenge?
Preheat oven to 177c (350f). Grease two 8" round cake pans.
Finely shred carrots using a hand held grater or a food processor for 30 seconds, stirring frequently.
1 lb. Carrots, peeled
Sift together or using a whisk combine thoroughly until lump free:
1 cup Sorghum flour
1/2 cup Arrowroot powder 1/2 cup Brown rice flour 1 tsp. Salt 1 tsp. Baking soda 1/2 tsp. Cinnamon 1/4 tsp. Cloves, ground 1 tsp. Anise seed, ground (or add 1/2 tsp. anise extract in with the wets)
Combine wet ingredients at medium to medium-high speed:
4 Eggs, large
1/2 cup Applesauce or pureed pineapple 1/2 cup Walnut oil (or vegetable) 1 1/2 cups Sugar, specially fine or caster
Slowly incorporate dry ingredients into wet. Fold in carrots and:
3/4 cup Walnuts, between chopped and minced (optional)
3/4 cup Raisins (optional)
Pour batter into the two prepare pans and bake on the middle rack of the oven for 35-45 minutes, or until the sides of the cake begin to pull away from the cake pan.
Let cool completely and ice with cream cheese icing or leave plain.
Preheat oven to 350f (177c). Grease two, 20 cm. round cake pans.
Finely shred carrots using a hand held grater or a food processor for 30 seconds, stirring frequently.
450 g. Carrots, peeled
Set aside carrots.
Sift together or using a whisk combine thoroughly until lump free:
135 g. Sorghum flour
65 g. Arrowroot powder 65 g. Brown rice flour 6 g. Salt 6 g. Baking soda 2 g. Cinnamon <1 g. (large pinch) Cloves, ground 2 g. Anise seed, ground (or add 1/2 tsp anise extract in with the wets)
In a separate bowl, combine wet ingredients at medium to medium-high speed:
4 Eggs, large
120 g. Applesauce or pureed pineapple 110 g. Walnut oil (or vegetable) 315 g. Sugar, specially fine or caster
Slowly incorporate dry ingredients into wet. Fold in carrots and:
80 g. Walnuts, between chopped and minced (optional)
110 g. Raisins (optional)
Pour batter into the two prepare pans and bake on the middle rack of the oven for 35-45 minutes, or until the sides of the cake begin to pull away from the cake pan.
Let cool completely and ice with cream cheese icing or leave plain.
The thanks go to God for using Becca (regular commentator) and Bolthouse Farms to inspire me with these smoothie recipes. A Funny Thing Happened to me Along the WayOriginally speaking I had intended to post 4 smoothies recipes but as the heading says "A funny thing happened to me along the way." Continue reading to find out what happened to the fourth recipe.
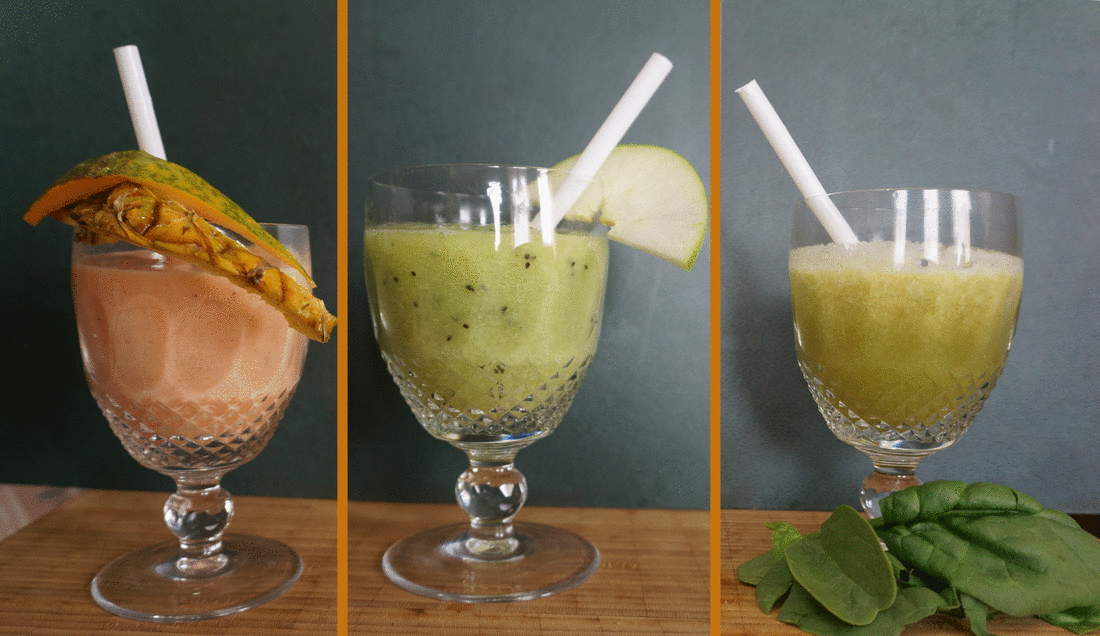
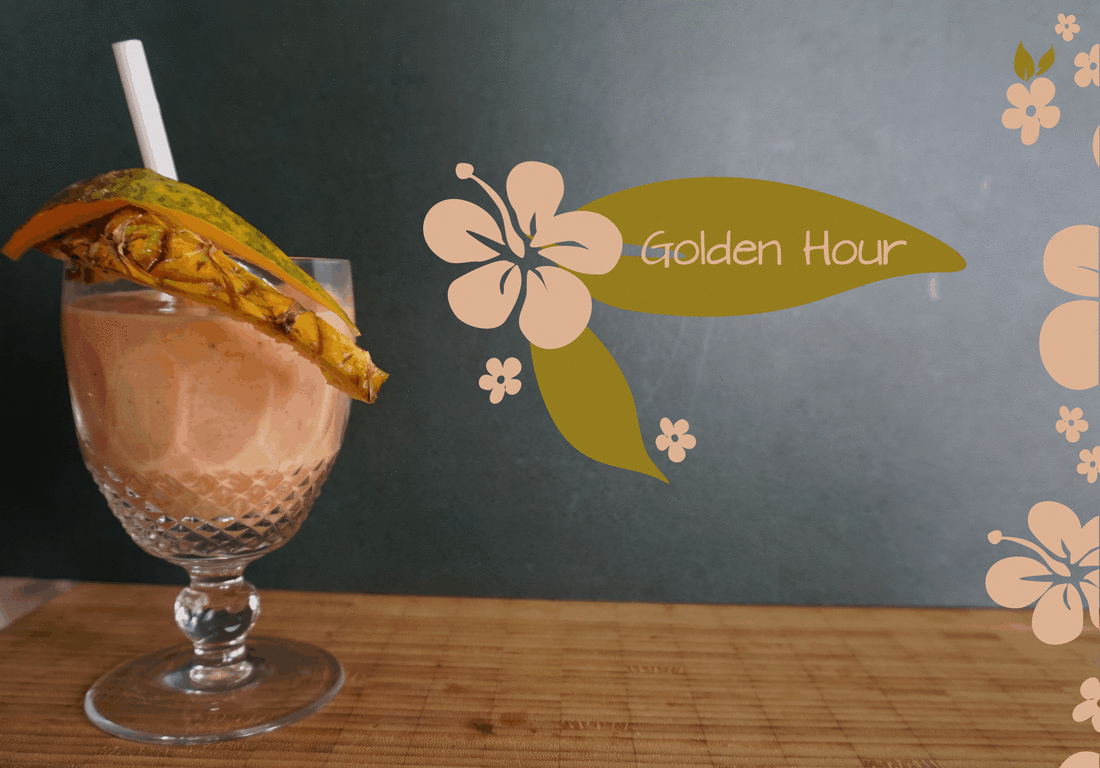
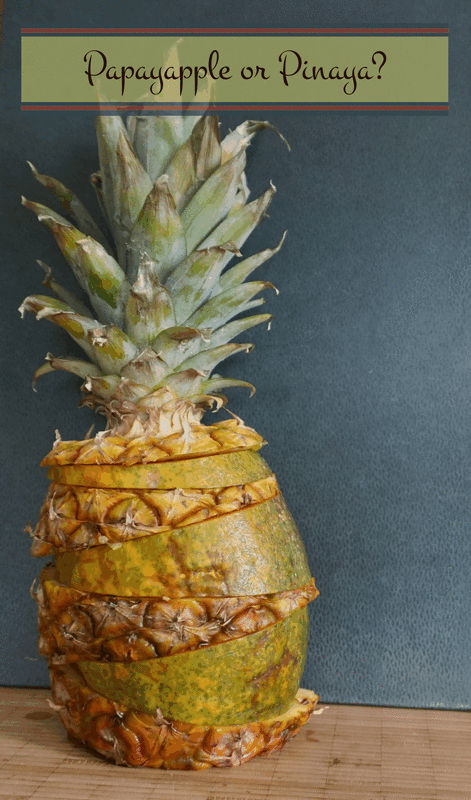
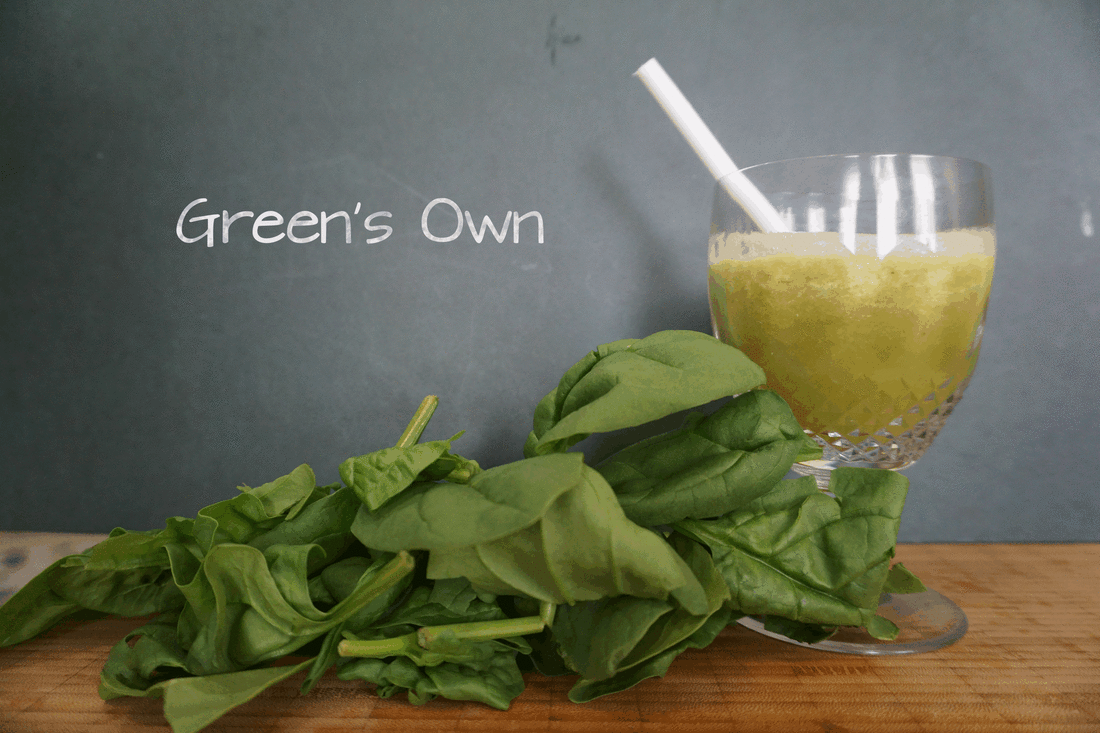
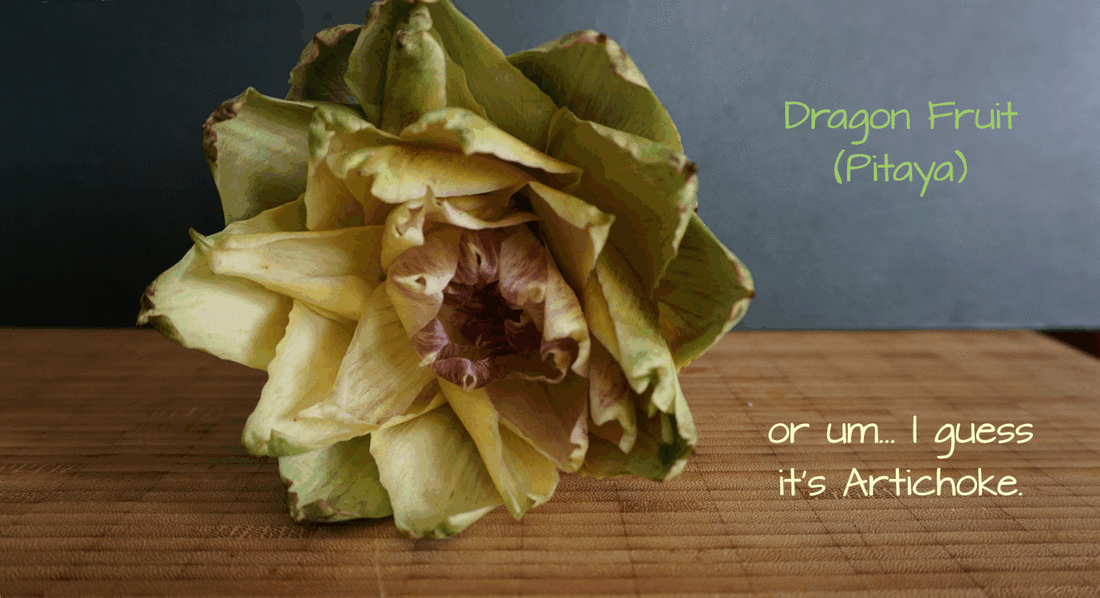
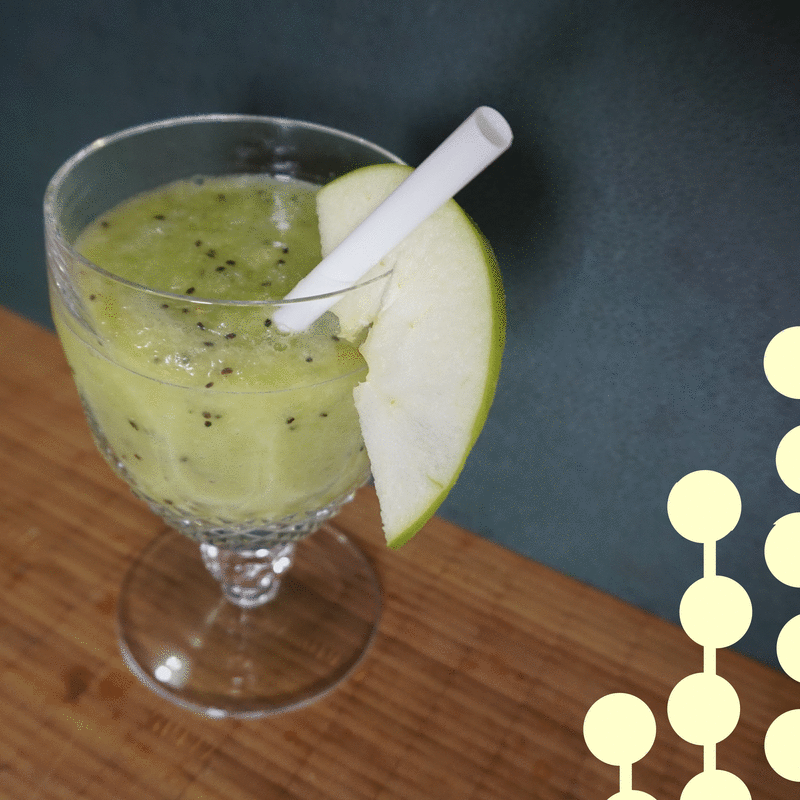
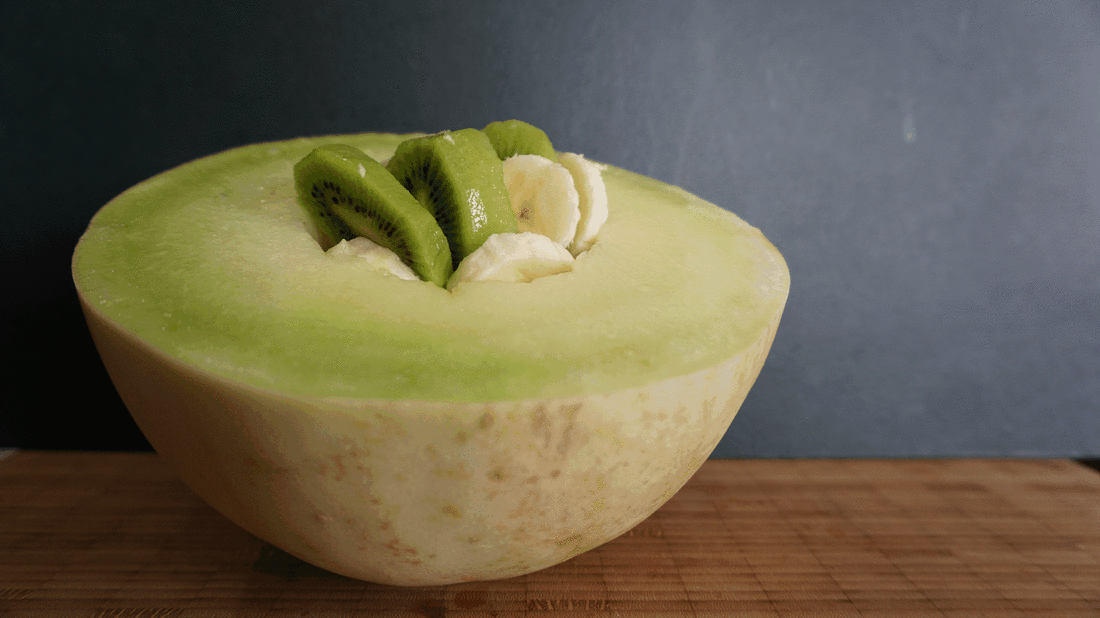
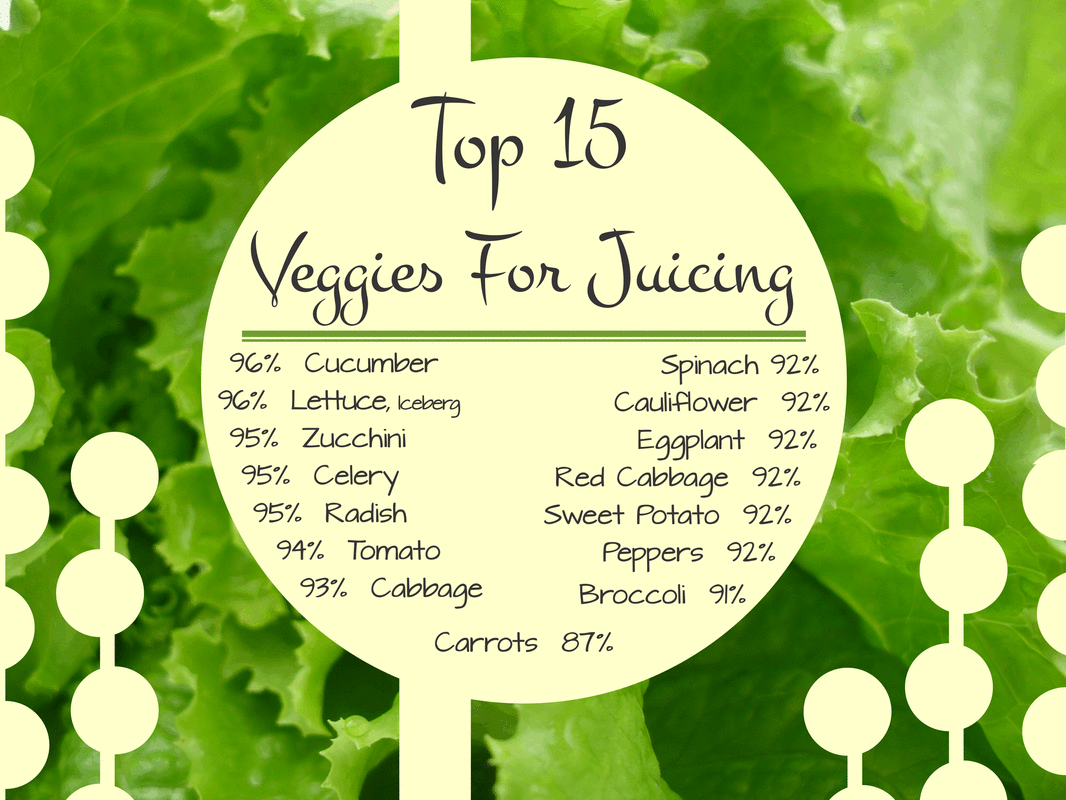
Well pitaya it was then. That was it; I had decided to put my eyes aside and go with my taste buds. Pitaya would be the fruit base for smoothie number four. So what happened you ask? I'll tell ya. It was the evening of Thursday, June the 4th, we, my family and I that is, were in the grocery store doing what else but grocery shopping. This was my perfect chance to get all the ingredients I needed for the smoothies. Well to make a short story long and then short again, I found what I thought was a beaten up pitaya. We bought it and I brought it home. It was 11 am, Friday, June the 5th, I was ready to make smoothie number four. I grabbed the first "pitaya" and began digging through it's feather like leaves. "What in the world?" I queried. I didn't see any fruit. I convinced myself that is was my ignorance in this particular fruit that led me to believe the fruit was close to the surface, so I kept digging, and digging through leaves, and more leaves, and more leaves, until I found out there was nothing but leaves!!! It's now the morning of Saturday, June the 6th, I have Mr. Duck handy but he's closed his beak. It think this mystery fruit/veggie may indeed be a iguana made paper airplane in disguise designed to spy out my smoothie recipes. The End... or is it? Check the comments to find out! Tips & TricksChill Your Ingredients Chill all your ingredients ahead of time; if you don't, then I recommend chilling the prepared smoothie. If you really can't wait then add a moderate portion of ice. The Age of Your Fruit The ripper the fruit the softer it is thus the easier it is to blend. Don't use rotting fruit but the ripped the better! P.S. this mean that this is a great way use up leftover/aging fruit/vegetables. Caution on Blending Veggies Vegetables tend to be stringy make them very hard to puree :P (P.S. does anyone find it confusing to use proper punctuation after using an emoticon? Or it that just me?). As a general rule: vegetables should be juiced and not blended in a blender. For this reason veggies which contain a higher water content are a better choice for smoothies. What veggies contain more water you ask? I'm glad you asked! Click here to find out. Golden Hour Cut into chunks the following: 1/2 Papaya, skinned 1/2 Pineapple, skinned 6 medium Strawberries Add the fruit chunks to your blender with the following: 1/2 cup Greek Yoghurt 2 tbsp Whey/Soy Protein (optional) "Get your engines started. Get ready. Get set. GO!" Blend for 1 minute, stir and repeat. If you blender is to small blend half at a time. Green's Own This is based on the Green Goodness smoothie I mentioned in my earlier post "Barley Grass Is It Gluten Free?" As I mentioned the Tips & Tricks above veggies are much better juiced than pureed (unless you have a very high powered blender, with multiple blades), that being said this smoothie is juiced and not blended. First you will need to chilled: 1 cup Stepped Green Tea Meanwhile loosely chop the following ingredients: 1/2 cup Spinach, loosely packed 1 long Celery rib (12 inches), with leaves 1 Banana, without peel 1/4 Papaya or 1 Mango (1 cup), skinned 1/4 Pineapple (1 cup), loosely skinned 3 large Green Apples, with skin 1/4 cup Artichoke or Leafy Green Vegetable (optional) You are now ready to juice everything but the green tea. So rev up your juicers engine and GO! I double juiced mine, meaning, after juicing all the ingredients I took the pieces that the juicer discarded and ran them through the machine again. By doing so I got about another 1/2 cup of juice. Now to clean the juicer out a little while harnessing even a little more flavour/juices, SLOWLY pour the chilled green tea through the running machine (if your juicer has multiple speeds run it on the slowest setting for this). The Golly Green Giant! Skin and cut into chunks the following: 3 Kiwi 1/4 Honeydew Melon 1 Banana 2 tbsp Hemp Protein/Super Green Protein Powder (optional) "Get your engines started. Get ready. Get set. GO!" Blend for 1 minute, stir and repeat. If you blender is to small blend half at a time. Banana Substitutes / Creamy Fruit Bases to Give the Smooth to Your Smoothie1. Papaya/Mango 2. Pitaya (e.g. Dragon Fruit) 3. Avocado 4. Jackfruit (tastes like Banana can be found fresh or canned in Asian markets) 5. Monstera (tastes and textures like Banana) 6. Pawpaw (tastes and textures like Banana) Top 15 Veggies For Juicing This chart is purely based on the water content of each veggie and how that will make it easier to get more juice out of the veggie NOT flavour. The percentages pictured represent what percent of the vegetables total weight is from water. Thanks for taking the time to view/read this post. I hope you enjoy all these recipes. God bless your whole day!
Tamara Green |
Click here for the best available price for a Digital Measuring Cup/Scale on Amazon.
Affiliate Links Disclaimer Life After Gluten receives a small commission from the sales made through our affiliate links. However, I only promote affiliate products that are relevant to the articles that brought you here. The commissions received through your purchases help maintain this site. Thank you for your support!
Happy to meet you,
If you are that person with a million and one allergies and intolerance I am there to say you are not alone! Life After Gluten can be better than life with wheat. Living lactose-free since 2007 and gluten-free since 2013. Also intolerant and/or allergic to mushrooms, soy, and yeast. Categories
All
Archives
March 2024
Affiliate Links Disclaimer Life After Gluten receives a small commission from the sales made through our affiliate links. However, I only promote affiliate products that are relevant to the articles that brought you here. The commissions received through your purchases help maintain this site. Thank you for your support!
|
Photo from Brett Jordan











 RSS Feed
