 - LEFTOVERS- Christmas Leftovers Omelette December 17th, 2020
Breakfast has never been part of my family's Christmas tradition. I mean really we just snack all morning and afternoon until the Christmas dinner is on the table. Usually our snack is comprised of mini quiche, sausage rolls, muffins, and naturally Christmas cookies. However, while I have a very nice mealy pie dough recipe, I was thinking about how there is not much difference between a quiche and an omelette. Isn't a omelette essentially a quiche without crust an less cream? And by that token would that just mean that omelette is the natural gluten-free, dairy-free alternative to your traditional quiche? This that benefit in mind, there is the added bonus that this recipe use holiday leftovers! It uses gravy and the fixings in this omelette are essentially stuffing minus the bread. If you made more of my GF Parsnip Stuffing recipe for Christmas than you needed at the dinner table than this omelette is your way of re-utilizing those leftovers in a fun and tasty delight! Christmas Omelette Recipe  Ingredients 4 large eggs 1/2 cup gravy 1 small onion, finely diced 1 medium carrot or parsnip, finely diced 1 rib celery, finely diced 2 cloves garlic, minced 1/2 bunch fresh parsley, chopped 1/2 bunch fresh sage, chopped 1 pinch all-spice and white pepper 1 cup leftover GF Parsnip Stuffing, click for recipe (optional) salt to taste Method Preheat your oven to 375F/190C.
1. In a medium mixing bowl, beat the eggs with the gravy until perfectly homogenous. Set aside. 2. Heat a medium oven proof sautepan over medium-low heat until a droplet of water sizzles in the hot pan. Grease your pan. Add the onions and caramelize them, stirring only occasionally; This will take 15 minutes. Add the carrots, celery and garlic. Continue to cook for 5 minutes until the vegetables have little beads of water on their surfaces (this is referred to as "sweating" your veg). 3. Remove from the heat. Stir in the parsley, sage, all-spice, white pepper and salt. While continuing to stir, slowly mix in the egg mixture into the onion mix. 4. Finish cooking the oven until set. Garnish as desired.
Comments
- BAKED -
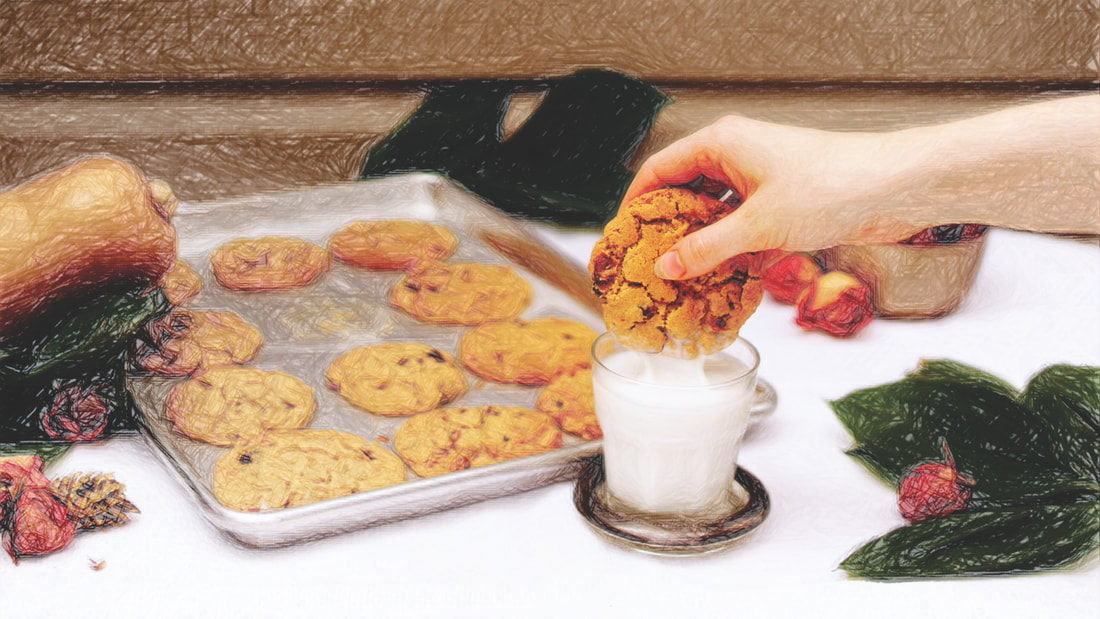
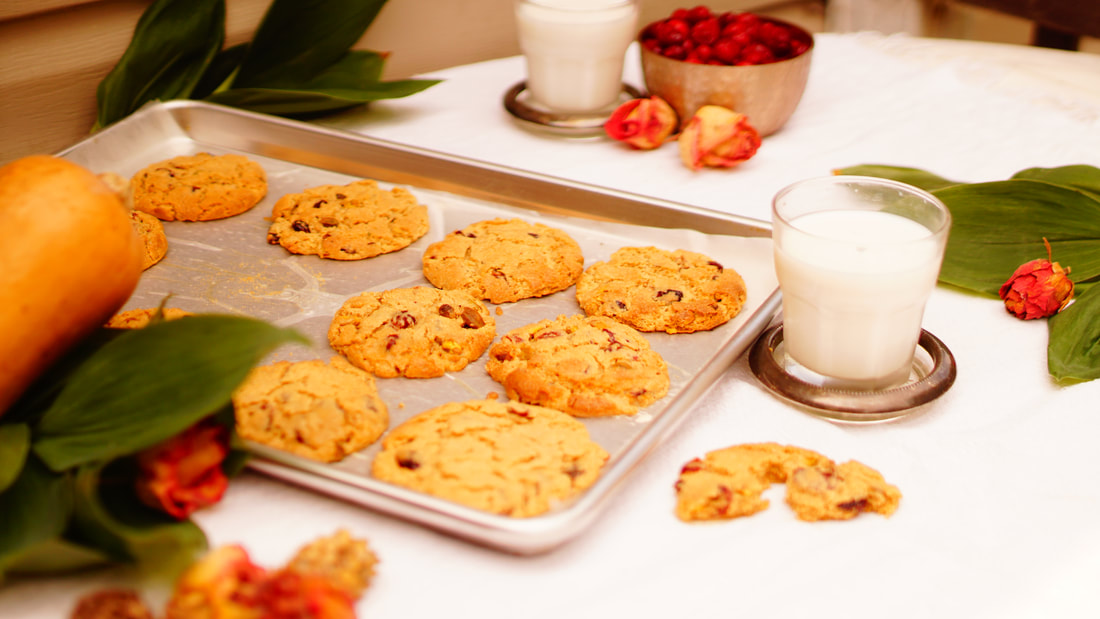
Ginger-Cranberry Cookies
December 10th, 2020
One day I was at work and the Sous Chef requested a few gluten-free cookies for a takeout order. No let me pause for a moment from story telling... do you find that the best thing happen by accident? Well it happened that day. In five minutes I had whipped together the best batch of ginger cookies but there was one glitch... I wasn't following a recipe.
What did I just do? I asked myself. Immediately I made a second batch and wrote down exactly what I did. This is that very successful recipe. These cookies are crunchy, chewy and filled with delicious flavour. FEATURED IN THIS RECIPE
Here are some of the best deals for ingredients and equipment relevant to this recipe. You will need these items for this recipe, so at now extra cost you, if you purchase one of these products then I earn a small commission that helps fund more posts like this one!
Note: If you cannot see the ad links above it is because your have an ad block or tracker program on. Temporarily disable them to be able to click the links.
GF, DF Ginger-Cranberry Cookie REcipe
#gluten-free #dairy-free #gingercookies #recipe
INGREDIENTS
300 grams vegetable shortening
200 grams demerara style brown sugar 4 large egg yolks 100 grams blackstrap molasses 10 grams pure vanilla extract 630 grams flour mix #3 or #3b (page xx) 45 grams baking powder 7.5 mL/1 1/2 tsp ground cinnamon 5 mL/1 tsp ground ginger 1.8 mL/1/3 tsp nutmeg 1.8 mL/1/3 tsp ground cloves 350 grams dried cranberries 350 grams chopped pecans, toasted METHOD
Preheat an oven to three hundred and seventy five degrees Fahrenheit.
Cream together demerara sugar and shortening. Add eggs a little at a time. Add molasses and vanilla. Stir until homogenous. Sift together the starch, rice flour, baking powder, cinnamon, ginger, nutmeg and cloves. Fold these dry ingredients into the shortening mixture. When homogenous, fold in the dried cranberries and pecans. Form dough into four centimetre (11/2 inch) balls and arrange about five centimetres (two inches) apart on cookie sheets. Flatten cookies to one half the height using the palm of your hand. Bake for six minutes, until lightly golden but still do not spring to the touch. Let cool, cookies will cook a little further as they are cooling. 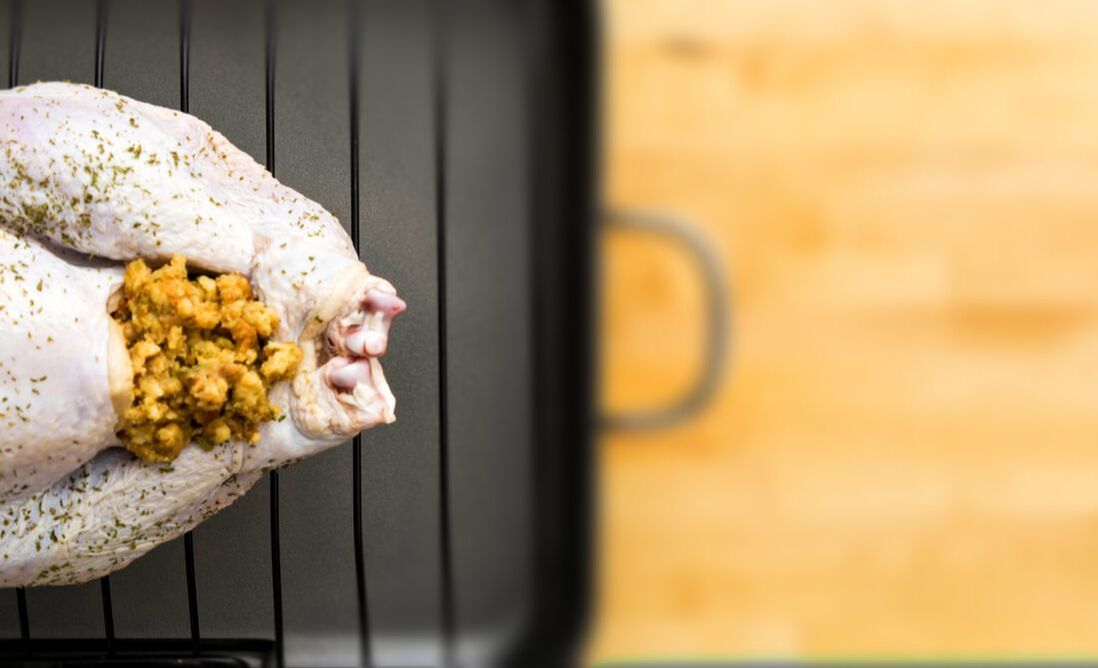 - Baked - PARSNIP STUFFING RECIPE December 3rd, 2020
Stuffing has got to be one of the best parts of the holiday dinner table. I mean it is such a comfort food. But obviously I usually contains gluten. Perhaps you are not all that keen on the gluten-free bread options on the market. However, I have good news, stuffing has got to be just about on the best applications for dry or tacky gluten-free bread. I mean it absorbs so much flavour and moisture than you'd never notice the difference my friends! Truly wonderful. I enjoy how this stuffing recipe is not simple but doesn't miss a punch in the nostalgic Christmas flavours. Parsnip is just a that sweet extra step transforming this recipe from good to great. I hope you and family enjoy this recipe as much as me and mine! Merry Christmas/Thanksgiving GF PARSNIP STUFFING | HOW TO STUFF YOUR TURKEY 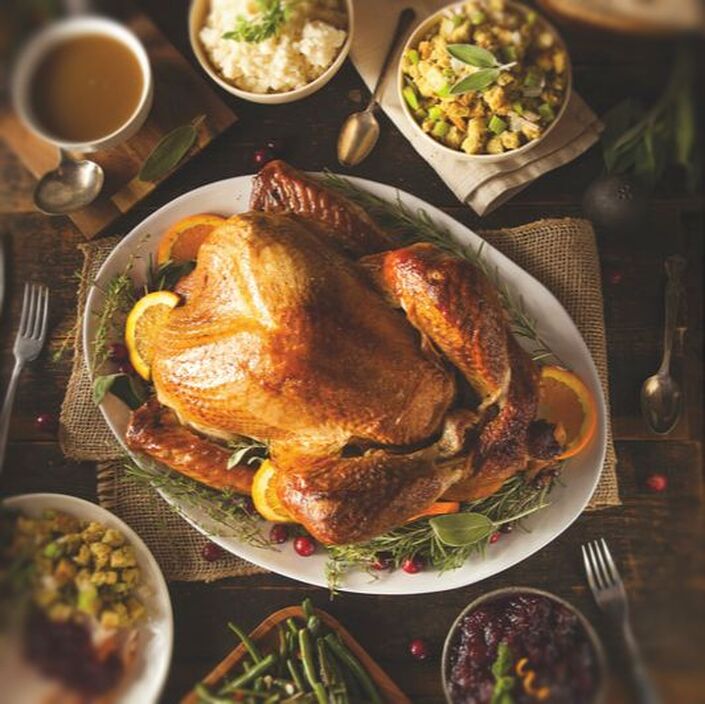 #gluten-free #lifeaftergluten #chirstmasrecipe INGREDIENTS stuffing 1 large onion, finely diced 2 medium parsnip, finely diced 3 ribs celery, finely diced 4 cloves garlic, minced 1 bunch fresh parsley, chopped 1 bunch fresh sage, chopped 6 slices gluten-free bread salt and white pepper to taste turkey 1 large local fresh turkey salt, powder thyme, powder sage, and white pepper METHOD 1. Heat a large saute pan over medium heat. Saute the onion until translucent, 3-5 minutes. Add the parsnip, celery, and garlic. Continue to cooking for 5 minutes, stirring occasionally.
2. Meanwhile, dice the bread into 1 centimetre cubes. 3. Remove the onion mixture from the heat. Add the remaining ingredients. 4. Preheat your oven to 325°F/163°C. Position your oven rack so that you can fit your stuffed turkey into the oven after it's prepared. 5. Remove your turkey from its packaging. Look it over for any small pinfeathers that may have been left behind when the turkey was plucked, and remove them. Take the giblets out of the cavity. Under your turkey's tail, you will see an empty cavity. You will eventually stuff this cavity with stuffing. Reach into the cavity and remove the giblets, if there are any (they are most likely inside of a paper package). The neck may also be inside the cavity; remove it as well. 6. Sprinkle your turkey liberally with salt, powdered thyme, powder sage, and white pepper. Make sure to cover both the outside of the turkey and the cavity with your seasonings. 7. Stuff the neck cavity of your turkey with prepared stuffing. Fold the neck flap down and lift the wings up and over the closed flap. 8. Fill the body cavity with stuffing. Make sure that you do not pack stuffing into the cavity too tightly, because it may not cook completely. Tuck the turkey legs inside the skin flap for a neat appearance. Take the flap of skin at the bottom of the body cavity and pull it up so that you can tuck the ends of the drumsticks inside. This will also help hold the stuffing inside the cavity while it cooks. 9. Cook the turkey until it reaches an internal temperature of 180°F/82°C. Put the turkey in the oven on the lowest rack and let it cook for 3-5 hours, depending on its weight. The stuffing inside should be 165°F/74°C. |
 Click here for the best available price for a Digital Measuring Cup/Scale on Amazon.
Affiliate Links Disclaimer Life After Gluten receives a small commission from the sales made through our affiliate links. However, I only promote affiliate products that are relevant to the articles that brought you here. The commissions received through your purchases help maintain this site. Thank you for your support!

Happy to meet you,
If you are that person with a million and one allergies and intolerance I am there to say you are not alone! Life After Gluten can be better than life with wheat. Living lactose-free since 2007 and gluten-free since 2013. Also intolerant and/or allergic to mushrooms, soy, and yeast. Categories
All
Archives
March 2024
Affiliate Links Disclaimer Life After Gluten receives a small commission from the sales made through our affiliate links. However, I only promote affiliate products that are relevant to the articles that brought you here. The commissions received through your purchases help maintain this site. Thank you for your support!
|

 RSS Feed
Photo from Brett Jordan
