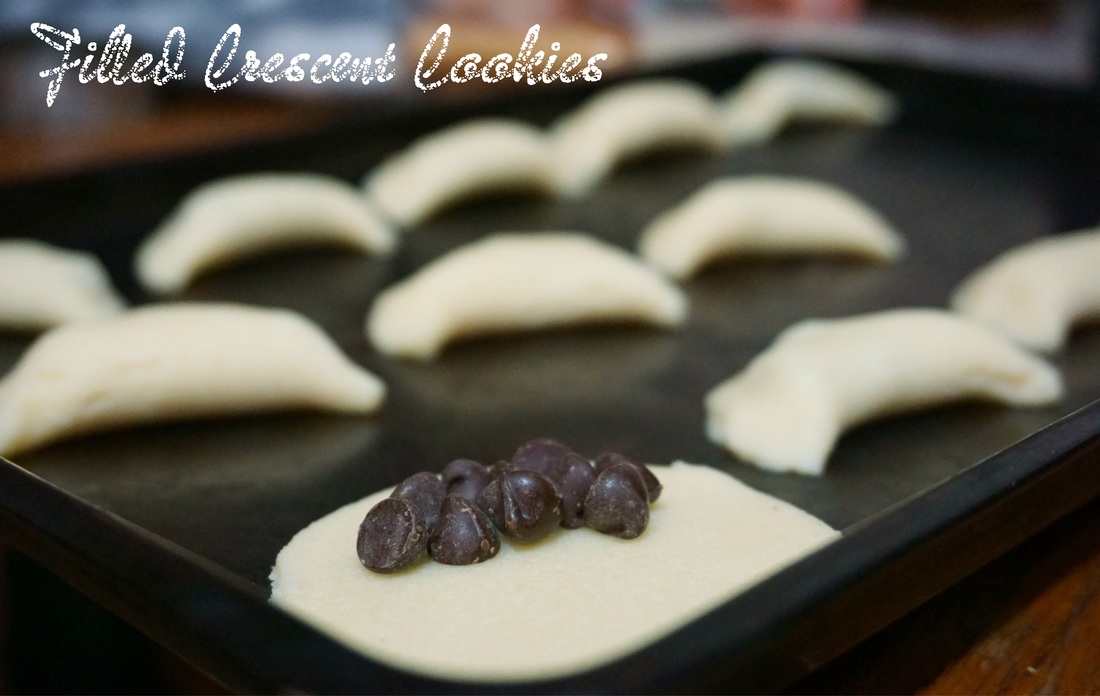
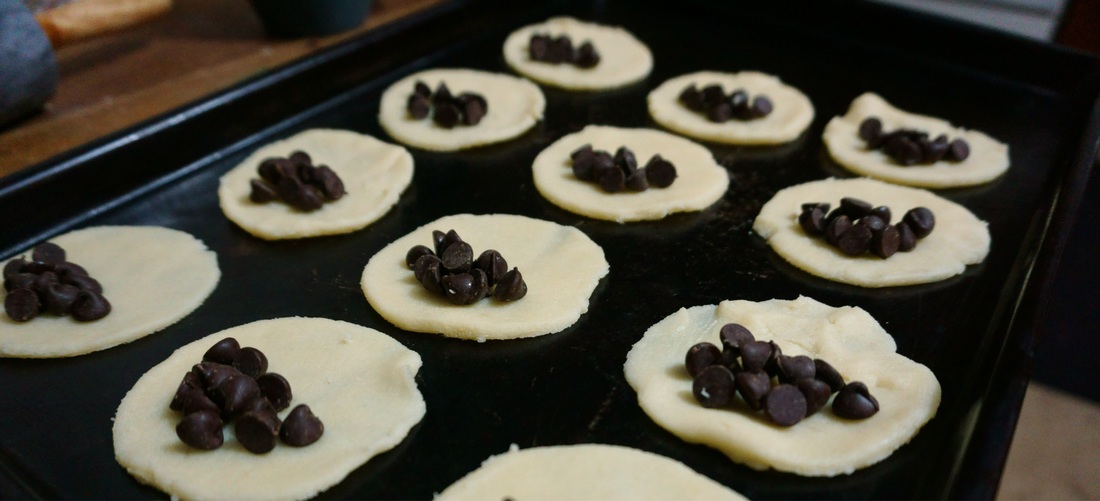
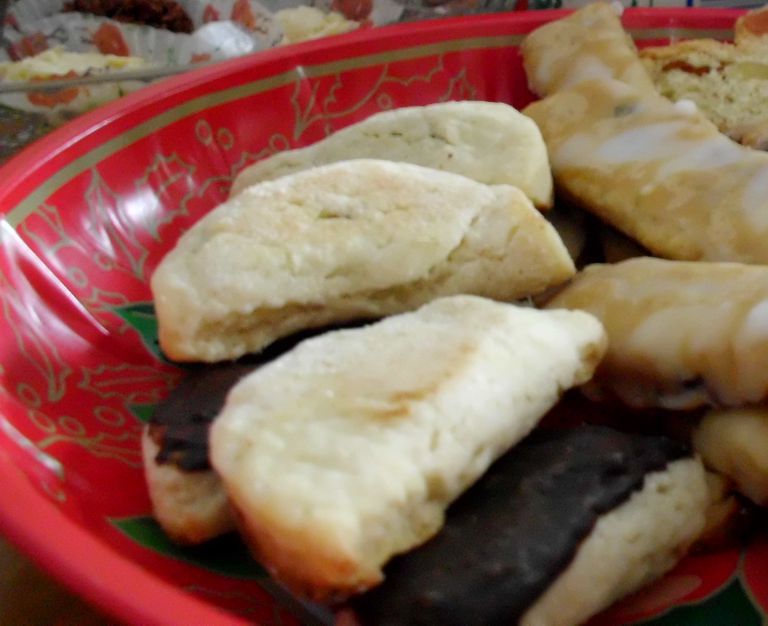
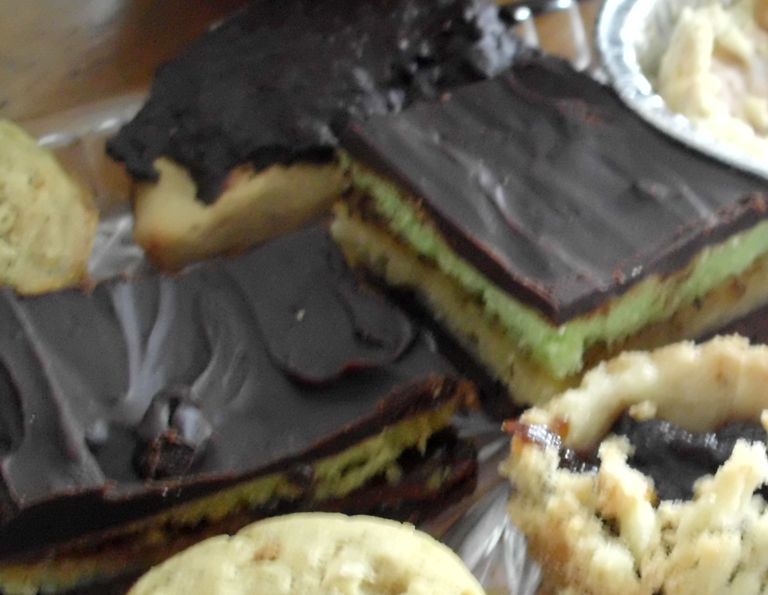
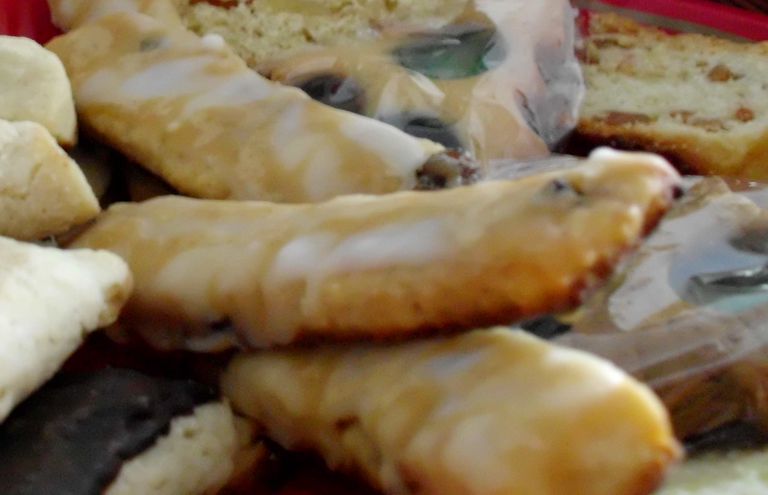
 These are one of our Green family favourite Christmas cookies. They are basically a sugar/butter cookie made with cream cheese and filled with chocolate and/or nuts; they are particularly good with mint chocolate. A chocolate drizzle or royal icing are great additions too, for a sweet tooth. 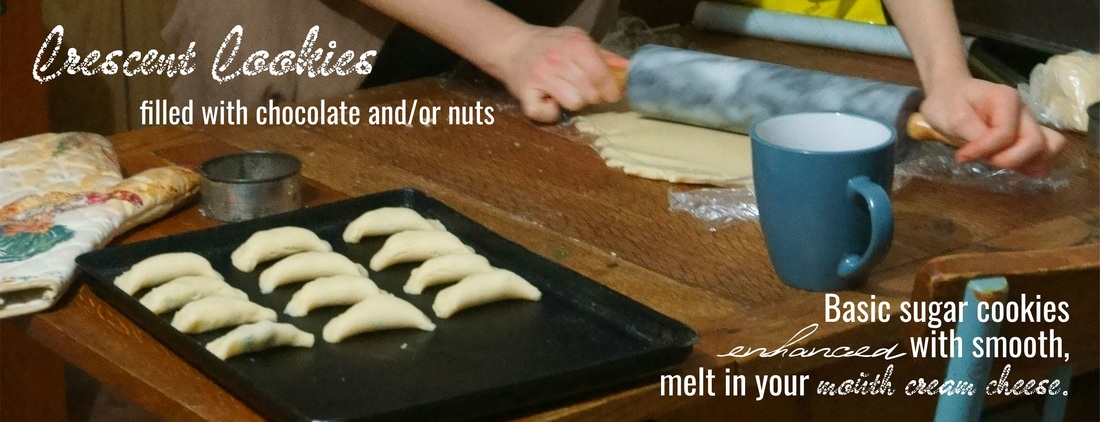
Comments
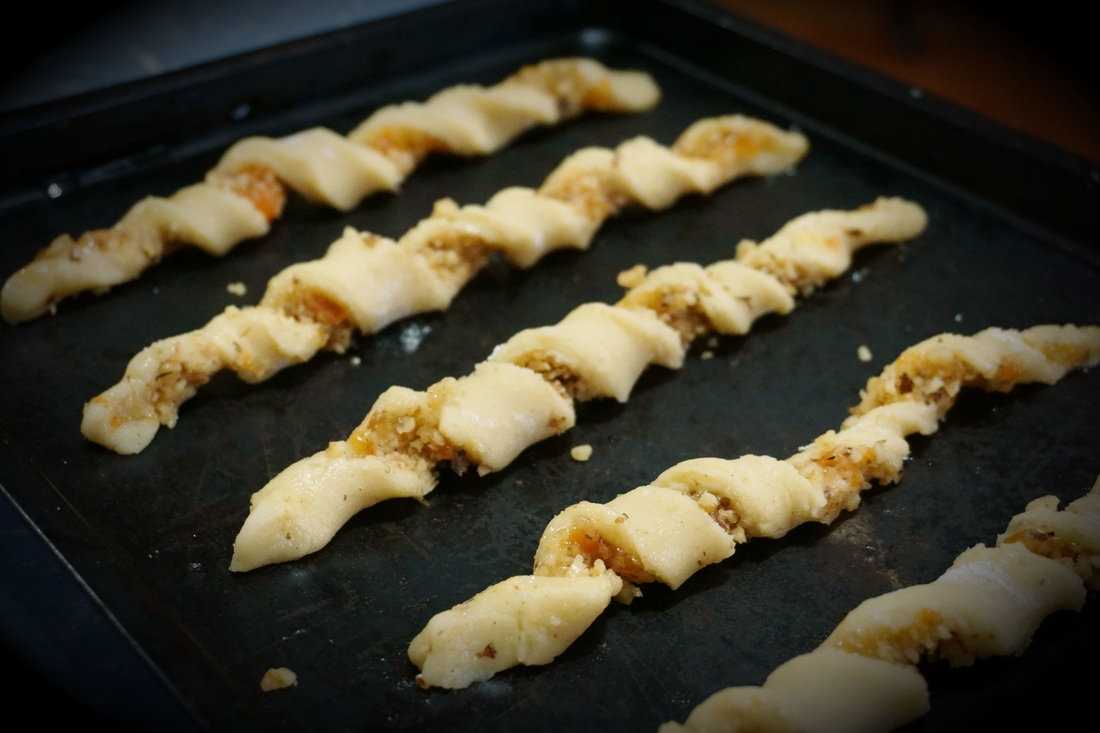
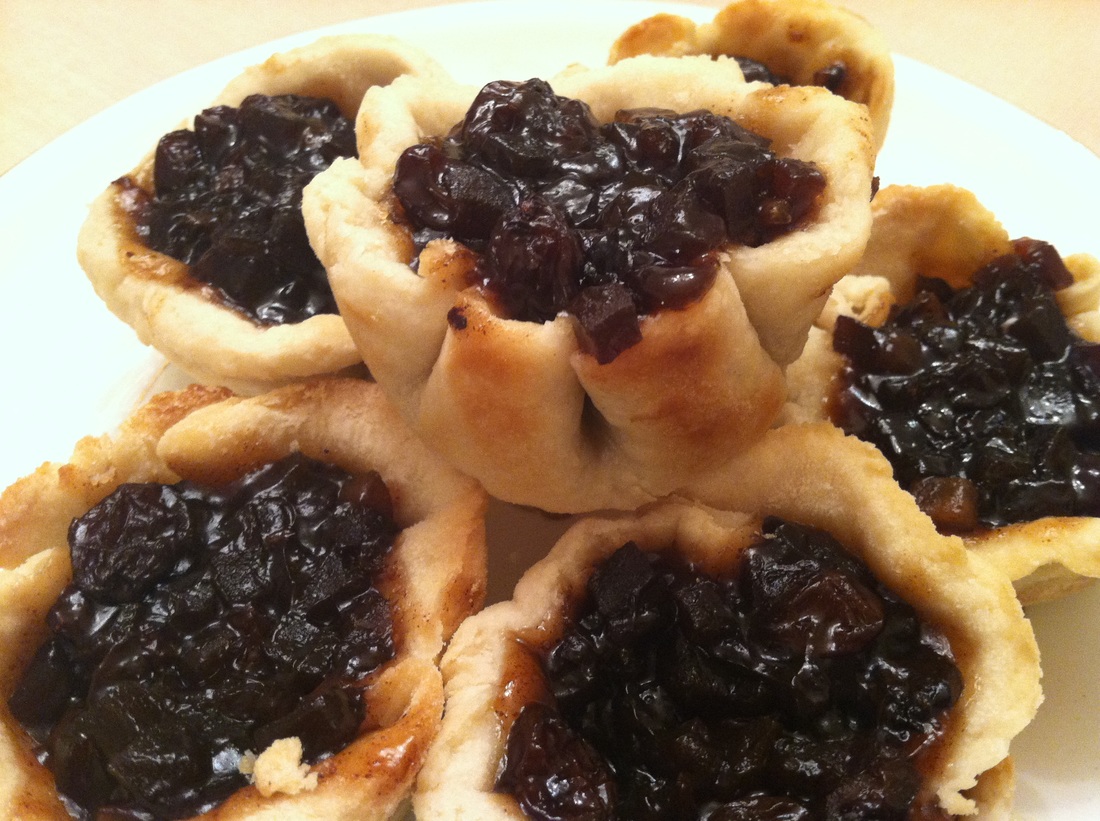
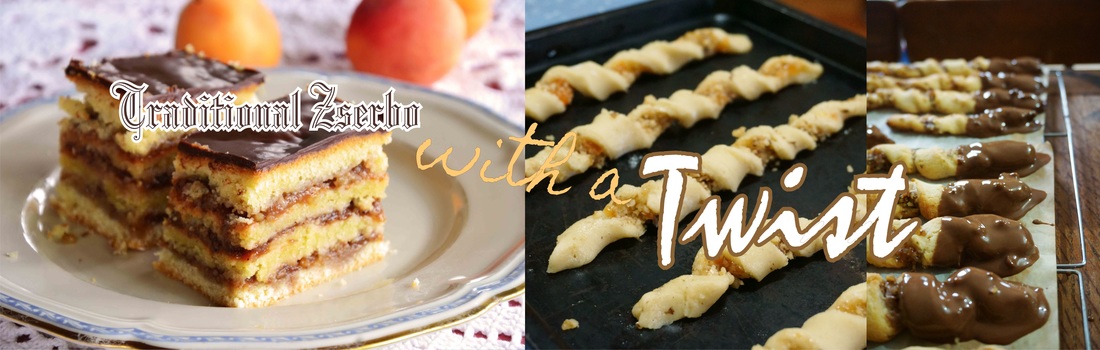 Happy Hungarian St. Nicklaus day! I honour of the good ministry God did through Nicklaus of Myra and the fact that I've been fooling around with turning traditional Hungarian meals into gluten free ones I've decided to share this wonderful recipe for Zserbo with a Twist. So somewhere on my mission to make authentic Hungarian food I made an innovative version of Zserbo turning the traditional layered cake/bread into a twisted cookie/bread. So I offer this neat recipe for unauthentic Zserbo Twists. Enjoy!  P.S. The Hungarians traditionally serve a pastry filled with poppy-seeds on St. Nicklaus day so you can also make a version of these that is more Christmas suited by using poppy seeds and honey in place of the apricot jam and walnut meal.
 Jollily signed, Tamara Green
Christmas baking traditionally starts in November for the Green family. We like to work on each cookies, roll, and beverage one by one with out rush. However, in recent years we've been starting it later and later, this Saturday will be our first day making any Christmas goodies. Here's a list of what Christmas baking can and usual does include in the Green family house. Gingerbread (iced and un-iced)
Yes I know that's a lot of baking! But we may not make everyone of those items each year. But please feel free to share your Christmas baking traditions with me and all the other readers in the comments below. This post was merrily brought you by, Tamara Green
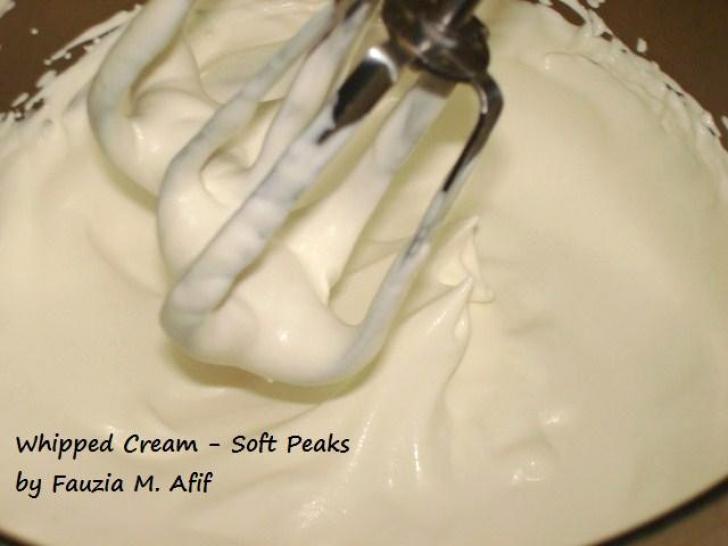
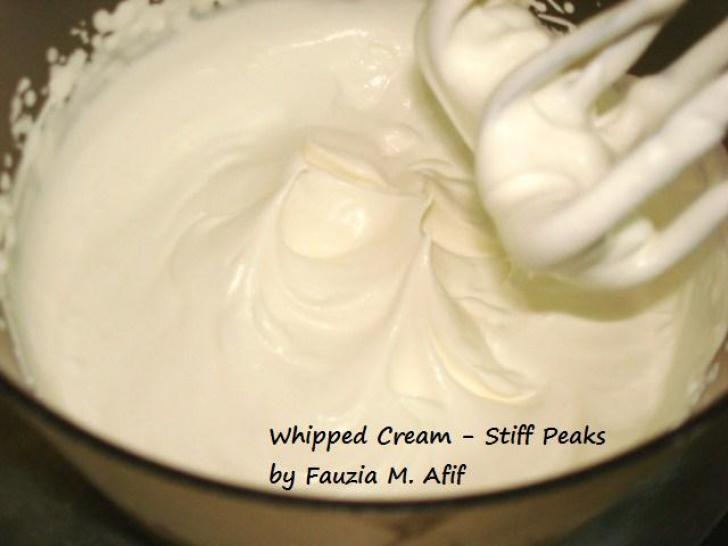
This recipe takes sometime to put together but the rewards are worth it. I and my family aren't big on whipped cream so this version is particularly good in my opinion because I've left the sides of the cake without whipped cream, however, you can easily spread whipped cream around the side of your cake if you prefer it that way! 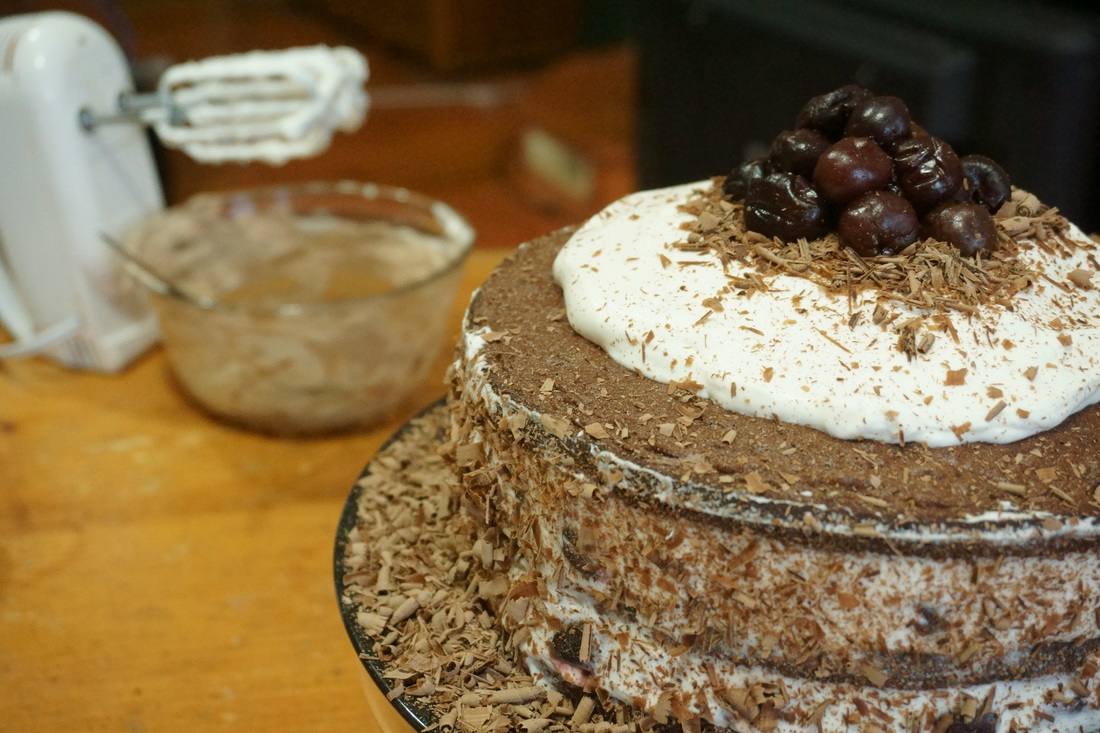 Cake 3 tbsp tapioca flour/starch 3 tbsp arrowroot powder/starch 2 1/2 tbsp sorghum flour 1 tbsp whey, soy, pea, or hemp protein isolate 1/2 cup + 1 tbsp dutch cocoa (or regular) 2/3 cup clarified butter 6 eggs, at room temperature 1 cup granulated sugar 1 tsp vanilla extract Syrup 2/3 cup Amoretti Premium Kirsch Syrup, this is a non-alcoholic version or 1/2 cup pure cherry juice + 1/3 cup sugar + 1 tsp imitation brandy extract Whip Cream Filling 2 cups heavy cream 1/4 cup granulated sugar Chocolate Whip Cream Filling 6 oz. bittersweet or semisweet chocolate, chopped 1/4 cup boiling water Cherry Filling Ingredients 10- to 12-oz. packages frozen cherries, preferably unsweetened, thaw and drain Garnish 8 oz, Chocolate shavings ♥ CAKE METHOD ♥ Have all ingredients at room temperature, about 70°F. Preheat the oven to 350°F. Grease and flour the bottom of three 8 x 2-inch round cake pans or one 8 x 2.5-inch cake pan lined with wax or parchment paper. Sift together 3 times flour and cocoa. Melt in a small saucepan clarified butter. Set aside butter. Whisk together in a large heatproof bowl: large eggs and sugar. Set the bowl in a skillet of barely simmering water and whisk constantly until the mixture is warm to the touch (about 110°F). Remove the bowl from the heat and beat on high speed until the mixture is lemony-coloured, has tripled in volume, and has reached the stage known as au ruban—like a continuous flat ribbon when dropped from a spoon (about 5 minutes in a heavy-duty mixer with the whisk attachment, 10-15 minutes with a hand-held mixer). In 3 additions, sift the flour mixture over the top and fold in very gently with a rubber spatula. Reheat the butter until it is hot and transfer to a medium bowl. Fold about 1 1/2 cups of the egg mixture into the butter until completely incorporated, along with vanilla. Scrape the mixture onto the remaining egg mixture and fold in. Scrape matter into the pan(s) and spread evenly. Bake until the cake begins to pull away from the sides of the pan(s) and top springs back with lightly pressed, about 15 minutes in 3 cake pans and 30 minutes all in one cake pan. Let cool in the pan(s) on a rack for 10 minutes. Slide a knife around the cake to detach it from the pan(s). Invert the cake(s) and remove the paper liner(s), if using. Let cool completely right side up on the rack. ♥ CUTTING CAKE INTO 3 LAYERS ♥ This step only applies if you didn't use three baking pans.
♥ MAKING CHERRY SYRUP ♥ This step only applies if you didn't use kirsch syrup. Bring to a boil 1/2 cup cherry juice and 1/3 sugar. Boil uncovered over medium heat for 5 minutes. Cool to lukewarm, add 1 tsp imitation brandy extract. ♥ APPLYING SYRUP ♥ Your cake should be completely cooled now, and if you used one pan you should have already cut it into 3 layers. Now moisten cake, using a brush generously coat one side of each cake layer with the cherry/kirsch syrup. Place one layer on your serving plate.
♥ FILLING CAKE ♥ Place the second layer of cake over the first, moist side down (facing chocolate cream). Press to level. Moisten the top of the second layer. Arrange a single layer of without packing them tightly, on top; you will have some cherries leftover. Spread about 2 cups of whipped cream over and between the cherries.
Place the last layer moist side down on top of the second layer. Press gently to level. Moisten top of layer with more cherry syrup. Top the black forest cake with any leftover whipped cream and/or cherries. Use a spatula to smooth whipped cream out on side of the cake. With the grated chocolate pat on the side of the cake and sprinkle the top of the cake. Refrigerate the cake for at least 12 hours, or up to 24 hours, before serving.
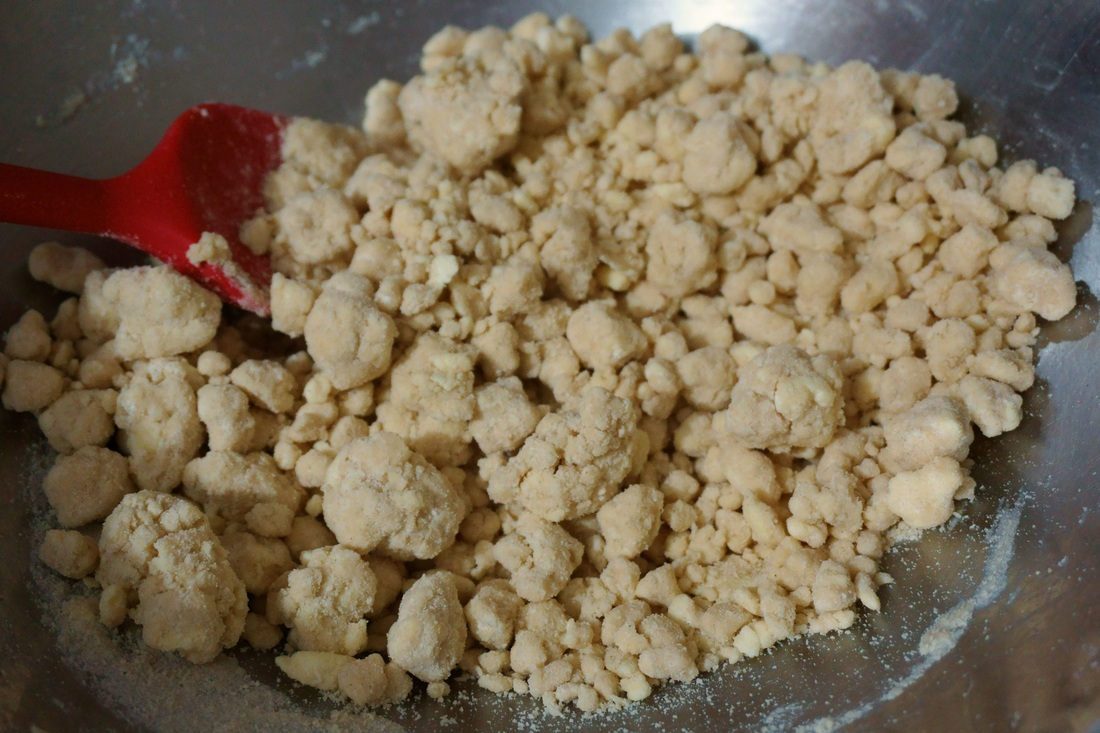
 It's getting close to that gingerbread season so now's the time to test dozen of different recipes and find the perfect one for your Christmas holiday treats! This the version my family made last year with great success I hope your family enjoys it too! 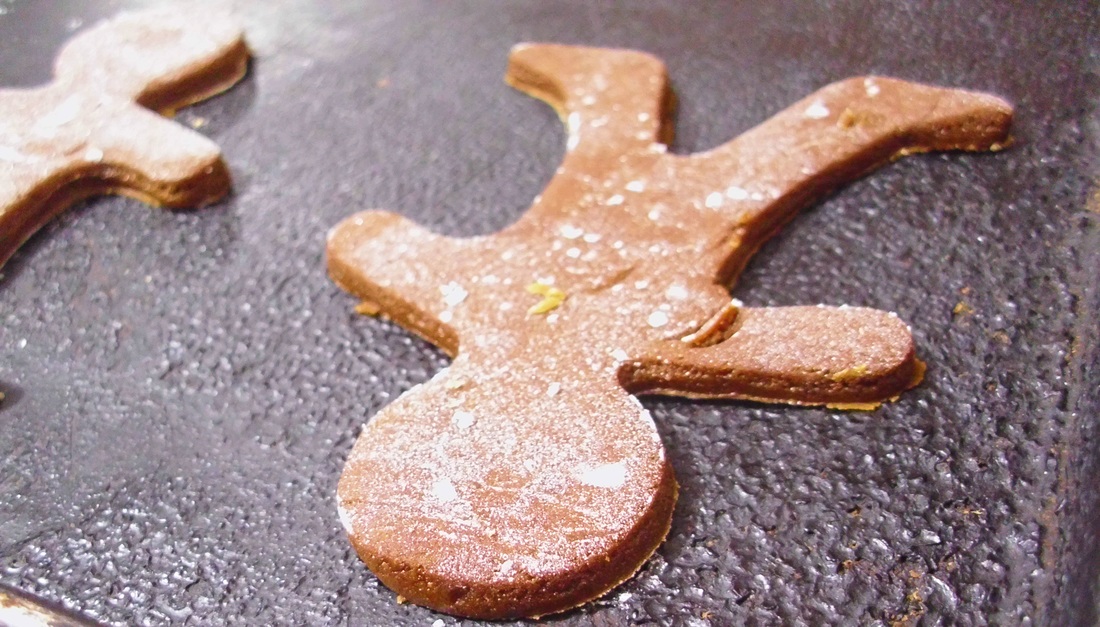 INGREDIENTS 4 tablespoons Unsalted Butter, room temperature 1/2 cup, packed Brown Sugar 1/2 cup Molasses 1/4 cup Honey 1 large Egg, room temperature 2 cups Brown Rice Flour 1 1/3 cup + 2 tsp Tapioca Starch/Flour 1/3 cup + 2 tsp Potato Starch 1/4 cup Teff Flour 1/4 cup Whey, Hemp, or Non-GMO Soy Protein 1 tsp Baking Soda 1 tsp Ginger powder 1/2 tsp Cinnamon, ground 1/4 tsp Cloves, ground 1/4 tsp Allspice, ground 1/2 tsp Salt 1/8 tsp Black Pepper (for spicy cookies!) 1/4 cup Water 2 tsp freshly grated Ginger Root, peeled DIRECTIONS In the bowl of a stand mixer with the paddle attachment (in a large bowl with a hand-held electric mixer, or in a large bowl using a whisk or spatula), cream the butter and brown sugar. Mix in the molasses and honey. Add the egg, mixing until combined. (Don't worry if the mixture looks curdled) In a medium bowl, sift together the flours, baking soda, spices, and salt & pepper. Add half of the flour mixture to the sugar mixture, mixing on low speed until just combined, scrape down the side of the bowl and/or paddle as is needed. Pour in the water and grated ginger, and mix to combine. Add the remaining flour and mix until fully combined. Divide the dough into two pieces (it's going to be sticky), and shape into a ball, wrap each in plastic wrap, and refrigerate for 3 to 4 hours, or overnight. Preheat oven to 350f (175C). Have ready parchment- or wax paper-lined baking sheets.
Bake cookies for 8-10 minutes, or until their surface is dry and they indent only slightly when you gently touch them, but are not yet beginning to get noticeably darker. (Unless of course you want a crispy gingerbread cookie. In that case just bake them longer and you'll end up with cookies strong enough to use for a gingerbread house!) Cool completely on a rack, then decorate as desired. Cookies keep, wrapped airtight and at room temperature, for up to three days.  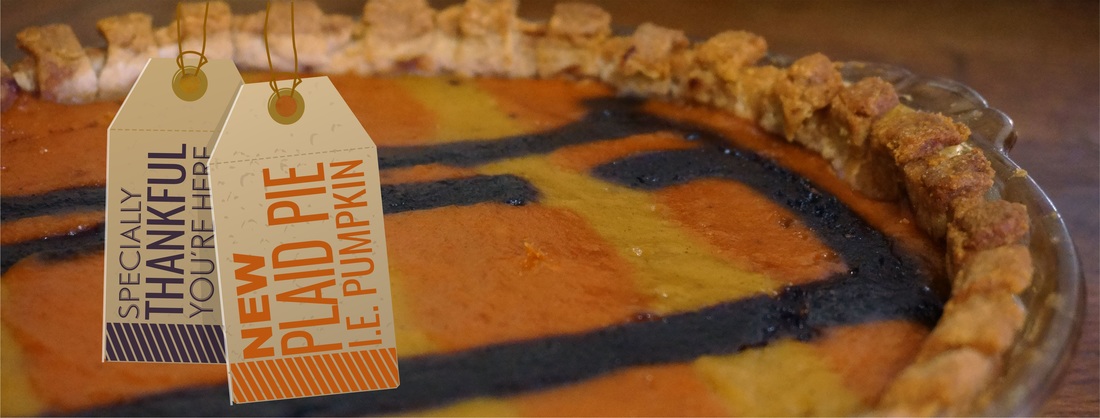
Making the same dishes every single Thanksgiving getting too routine for you. You want to tamper with your pumpkin pie recipe just a little but you don't want to stray from tradition.
If that's you (or if your Scottish) than this plaid pie is for you! This pie is an innovation of the comforting pumpkin pie. Don't worry it hasn't lost it's comfort! It's made from your traditional pumpkin pie filling as well as acorn squash and purple carrots. With a careful technique you can weave any plaid, striped, spotted, picturesque design you want! AND there's a special bonus advantage to making this plain pie and that is: IT'S FUN TO SAY "PLAID PIE!" So are you ready expand Thanksgiving tradition this year? Yes? Then lets get start with making this unique plaid pie.
Puree Method
Preheat oven to 165C (325F).
Wash and dry the sugar pumpkin, acorn squash, and carrot. Cut around the stem of the pumpkin then cut it in half and remove the seeds. Repeat with squash. Line two baking dishes with aluminum foil (one large and one small a bread pan will do). Lightly oil the foil. Place the pumpkin & squash halves cut side down on the foil in the larger pan. Place the peel carrot in the smaller pan. Bake for 40 minutes. The vegetables will be ready when the flesh easily gives when poke with a fork. Cool at room temperature. Use a fork or spoon to scrape the pumpkin flesh from the peel. Repeat with acorn squash. Mash or puree the acorn squash in a blender. Set aside and mash or puree pumpkin. Be careful not to mix any of the squash, pumpkin, or carrot unless otherwise noted because we want each puree to remain unique in hue. Drain any carrot juice from the pan into a small bowl. If the juice amounts to 30ml or 2 tbsp then discard carrot. Mix carrot juice with 1/2 cup pumpkin puree. If there isn't this much carrot juice then cut carrot into small chunks and mash or puree with 1/2 cup pumpkin. Set puree's aside.
Crust Method
Pan #1
Line one bread pan with aluminum foil, be sure to fit the foil tightly in the corners. Line foil with plastic wrap. Fill with all pumpkin filling. Place in freezer for 2 hours or until the consistency of a fudge-sicle or yogurt Popsicle. Make it remains level. Pan #2 Line the next pan with foil being careful to make a side 1” in from the pan's wall. Line with plastic wrap. Fill with all acorn squash filling. Place in freezer for 2 hours or until the consistency of a fudge-sicle or yogurt Popsicle. Make it remains level. Pan #3 Line the last pan with foil being careful to make a side 2” in from the pan's wall. Line with plastic wrap. Fill with carrot-pumpkin filling. Place in freezer for 2 hours or until the consistency of a fudge-sicle or yogurt Popsicle. Make it remains level. 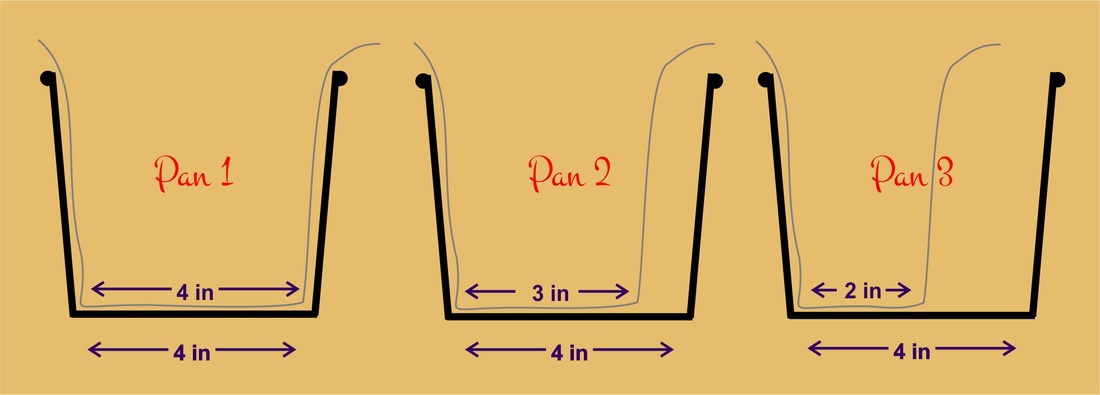
Filling Method
Crack 2 eggs open into a medium bowl. Separate the yolk from the white of a 3rd egg and add egg yolk to bowl. Slightly beat the eggs. Add 2/3 cup evaporated milk. Stir well.
In a small bowl mix 1 cup dark brown sugar, 1 tbsp sorghum flour, 1/2 tsp salt, 1 tsp ground cinnamon, 1/4 tsp ground nutmeg, 1/4 tsp ground ginger, one pinch ground cloves. Mix the wet and dry ingredients completely. Pour 1/4 cup of mixture into a small bowl (this should equal 1/6 of the mixture). Pour 1/2 cup into another small/medium bowl. The remaining amount of mixture should be 3/4 cup. Stir well 2 cups pumpkin puree into the largest bowl (3/4 cup of mixture). Stir well 1 cup acorn squash puree into the medium sized bowl (1/2 cup mixture). Stir well carrot/pumpkin puree into the smallest bowl (1/4 cup mixture). You should now have one orange, one caramel and one purple coloured filling.
Plaid Pattern Method

First, you have to choose what kind of plaid pattern you wish to make then you can remove your frozen fillings from the freezer. There are so many types of plaid patterns to choose from but our pumpkin, squash, and carrot-pumpkin fillings are in a ratio 3:2:1 respectively. So we're going to want the pumpkin filling stripes to be three times wider than the carrot-pumpkin. To make things a little easier here's my suggested blueprints (of course you'll need to adjust it slightly according to the size of your pie).

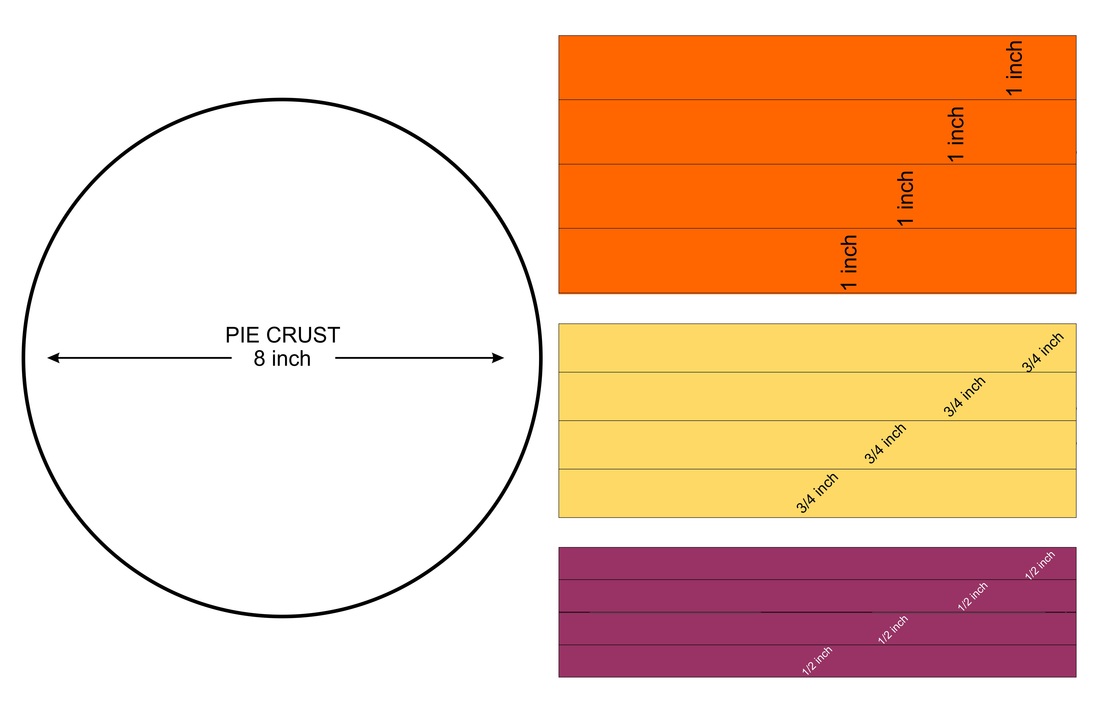
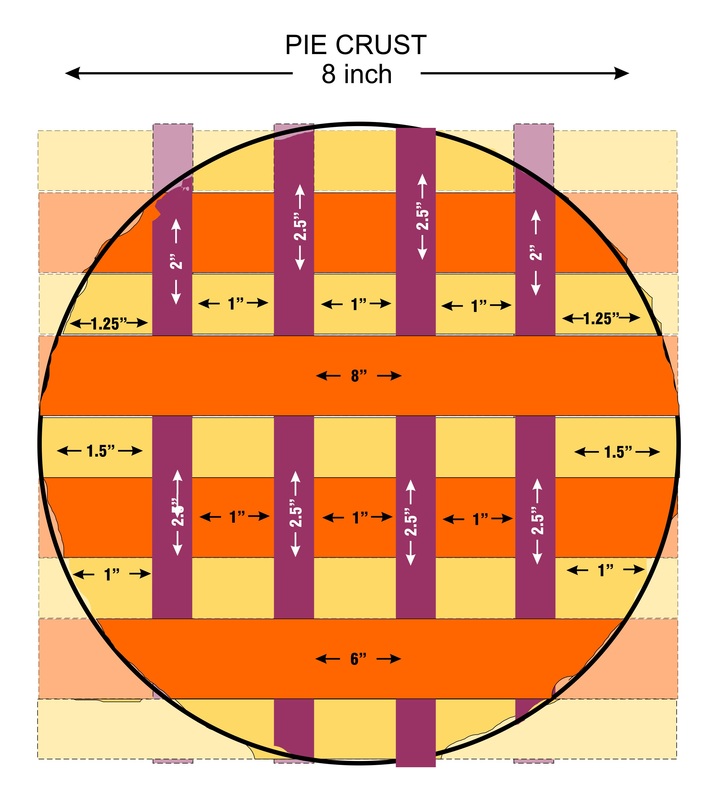
The light coloured areas outside of the pie's circumference are representing what will need to be trimmed from each strip of filling.
Puree Method
Preheat oven to 325 F (165 C).
Wash and dry the sugar pumpkin, acorn squash, and carrot. Cut around the stem of the pumpkin then cut it in half and remove the seeds. Repeat with squash. Line two baking dishes with aluminum foil (one large and one small a bread pan will do). Lightly oil the foil. Place the pumpkin & squash halves cut side down on the foil in the larger pan. Place the peel carrot in the smaller pan. Bake for 40 minutes. The vegetables will be ready when the flesh easily gives when poke with a fork. Cool at room temperature. Use a fork or spoon to scrape the pumpkin flesh from the peel. Repeat with acorn squash. Mash or puree the acorn squash in a blender. Set aside and mash or puree pumpkin. Be careful not to mix any of the squash, pumpkin, or carrot unless otherwise noted because we want each puree to remain unique in hue. Drain any carrot juice from the pan into a small bowl. If the juice amounts to 30ml or 2 tbsp then discard carrot. Mix carrot juice with 110 g pumpkin puree. If there isn't this much carrot juice then cut carrot into small chunks and mash or puree with 110 g pumpkin. Set puree's aside.
Crust Method
Filling Method
Pan #1
Line one bread pan with aluminum foil, be sure to fit the foil tightly in the corners. Line foil with plastic wrap. Fill with all pumpkin filling. Place in freezer for 2 hours or until the consistency of a fudge-sicle or yogurt Popsicle. Make it remains level. Pan #2 Line the next pan with foil being careful to make a side 2.5 cm from the pan's wall. Line with plastic wrap. Fill with all acorn squash filling. Place in freezer for 2 hours or until the consistency of a fudge-sicle or yogurt Popsicle. Make it remains level. Pan #3 Line the last pan with foil being careful to make a side 5 cm from the pan's wall. Line with plastic wrap. Fill with carrot-pumpkin filling. Place in freezer for 2 hours or until the consistency of a fudge-sicle or yogurt Popsicle. Make it remains level.
Plaid Pattern Method

First, you have to choose what kind of plaid pattern you wish to make then you can remove your frozen fillings from the freezer. There are so many types of plaid patterns to choose from but our pumpkin, squash, and carrot-pumpkin fillings are in a ratio 3:2:1 respectively. So we're going to want the pumpkin filling stripes to be three times wider than the carrot-pumpkin. To make things a little easier here's my suggested blueprints (of course you'll need to adjust it slightly according to the size of your pie).
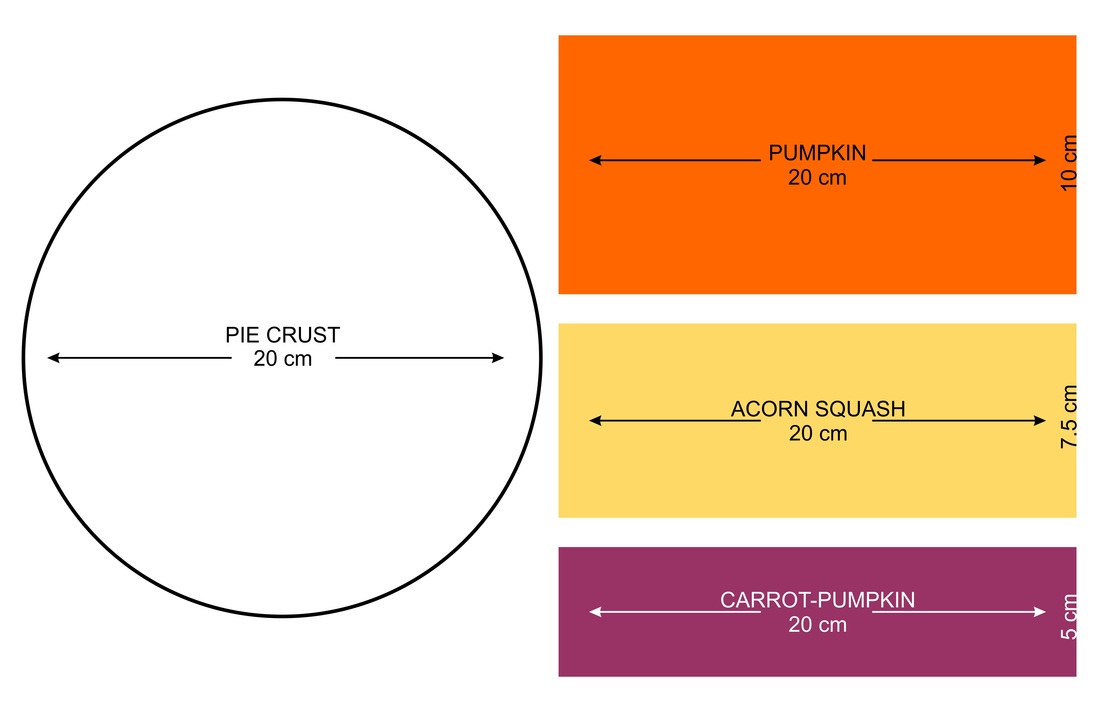
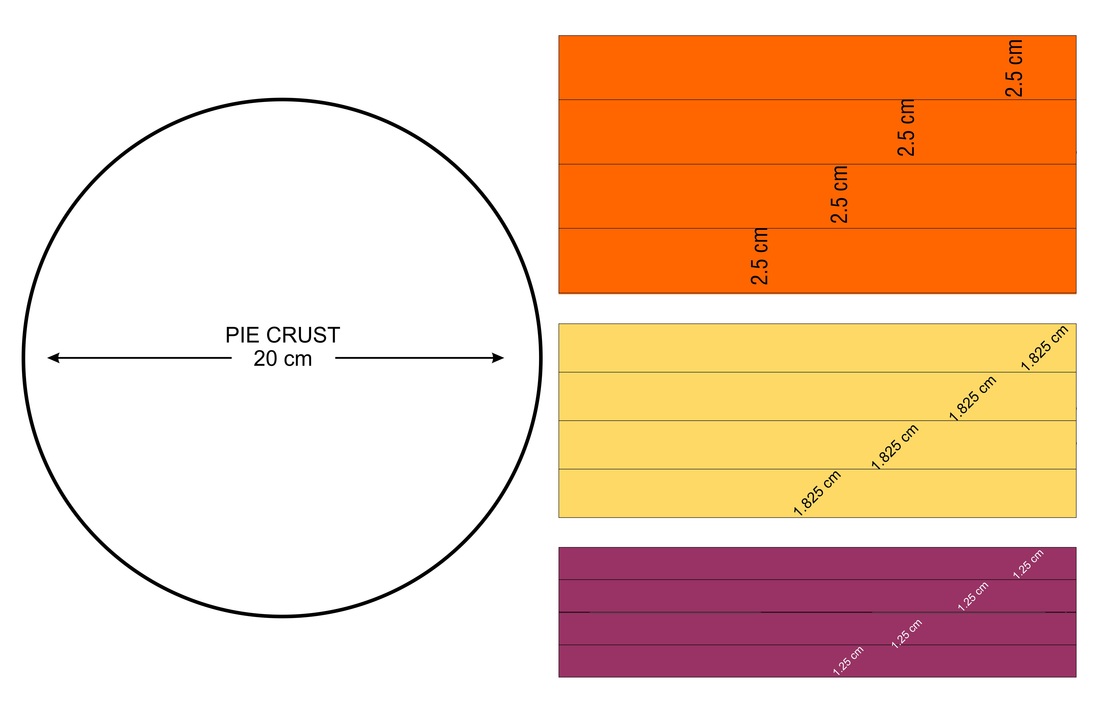

The light coloured areas outside of the pie's circumference are representing what will need to be trimmed from each strip of filling.
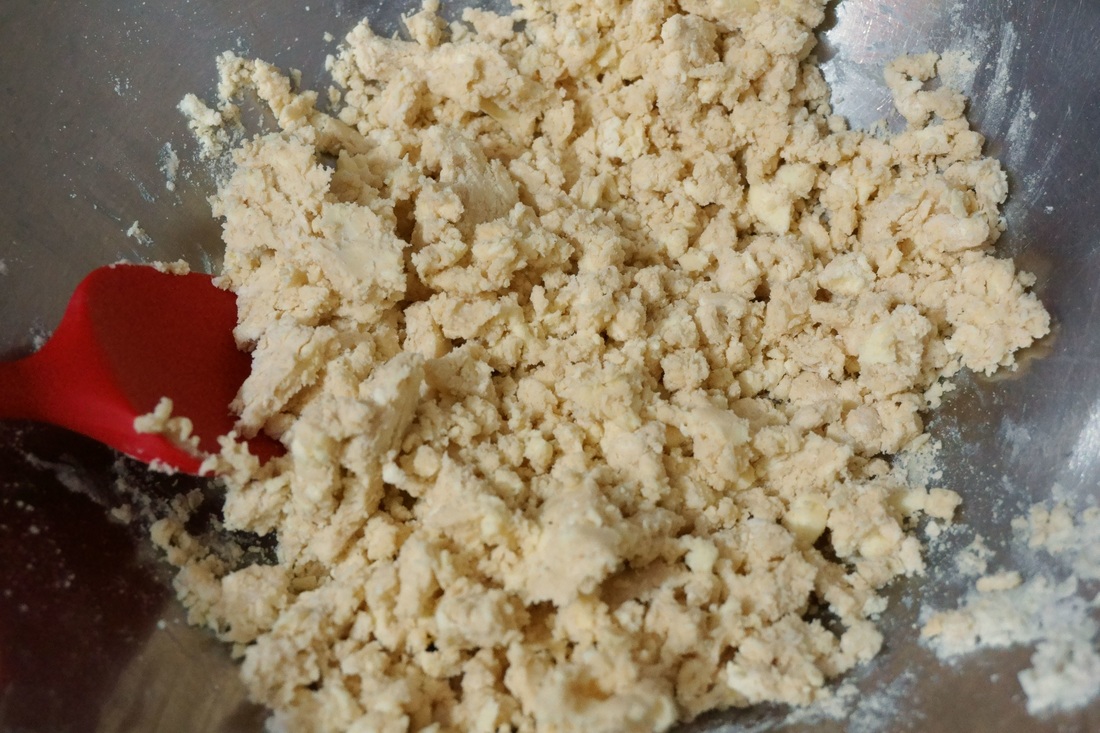
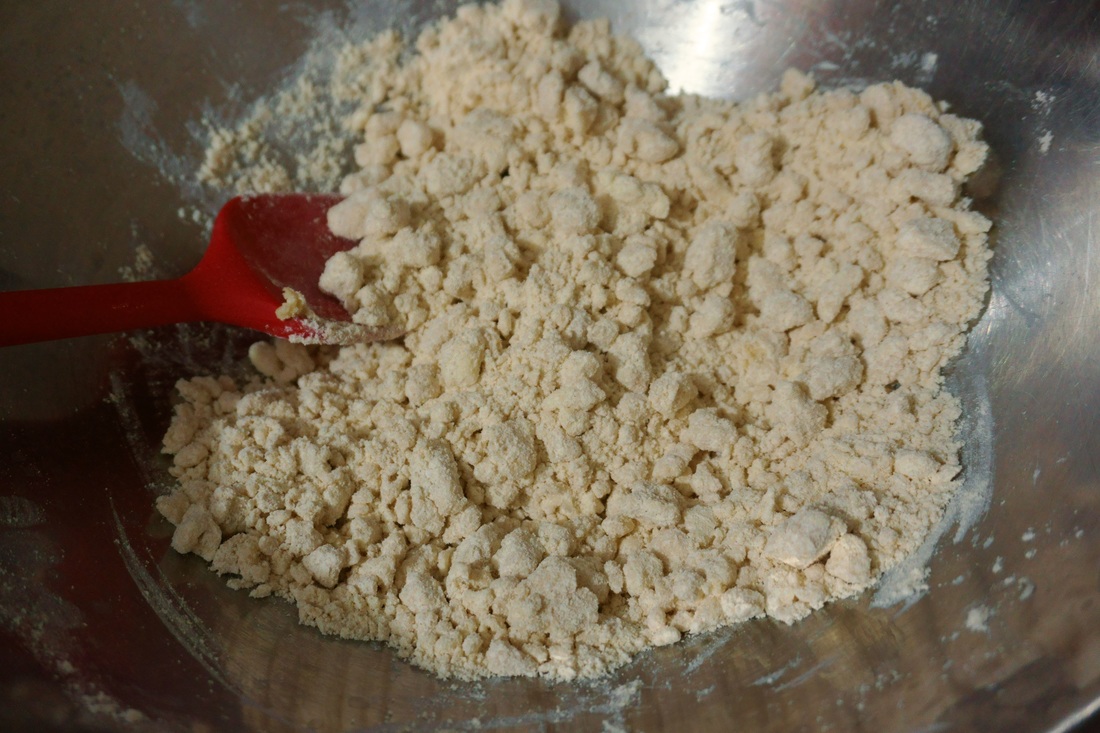
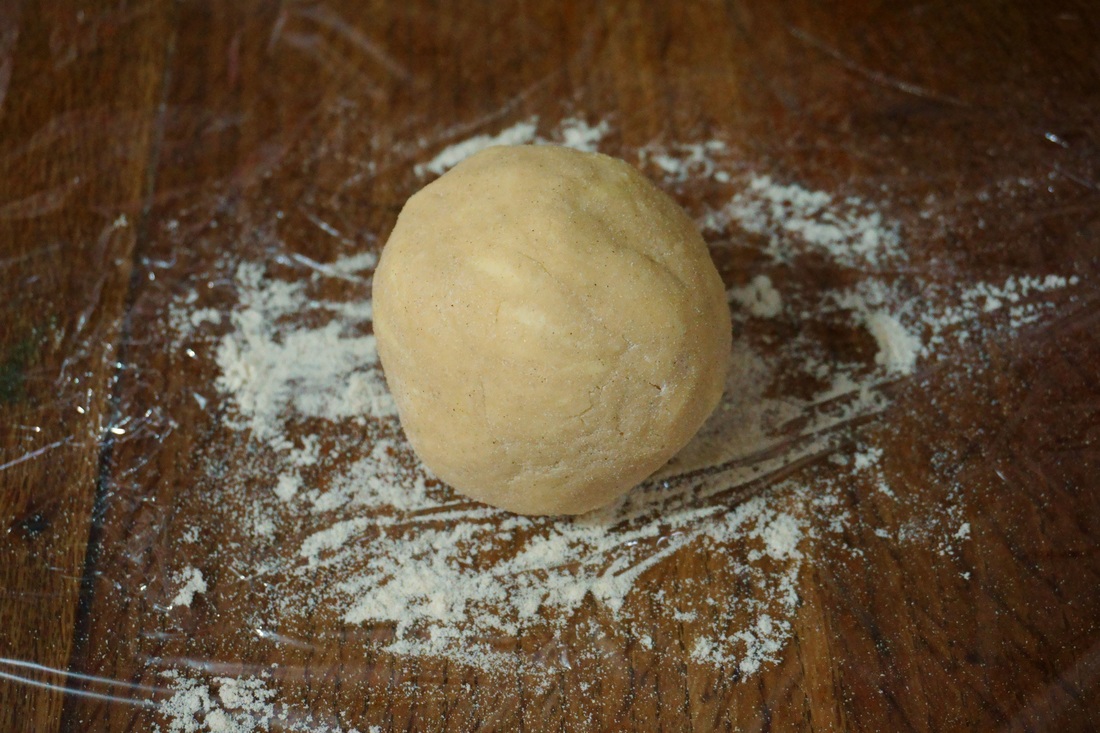
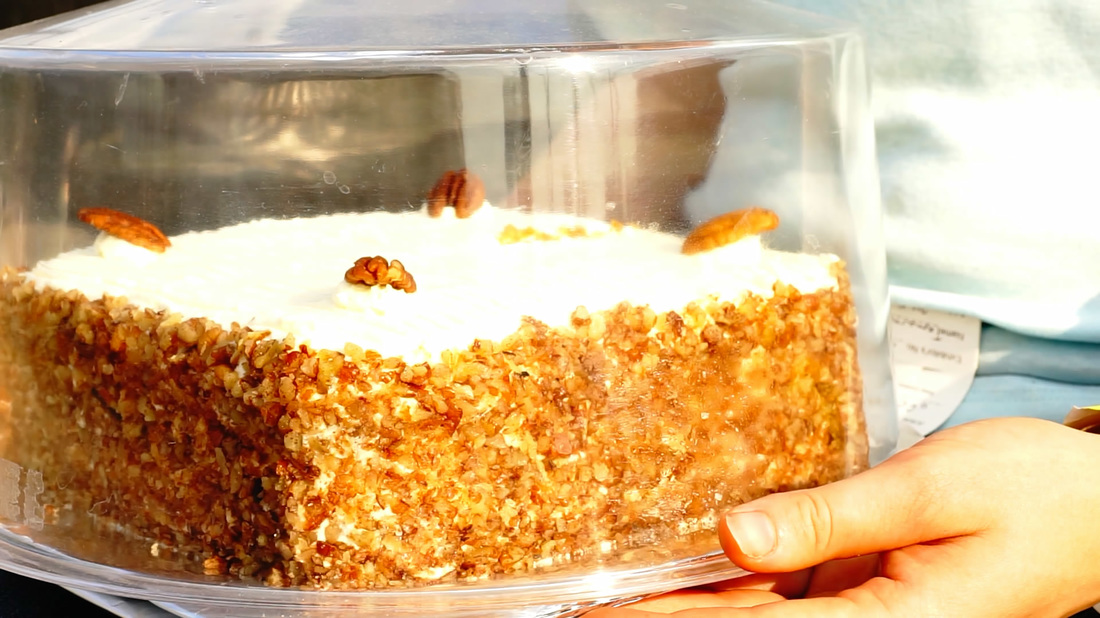
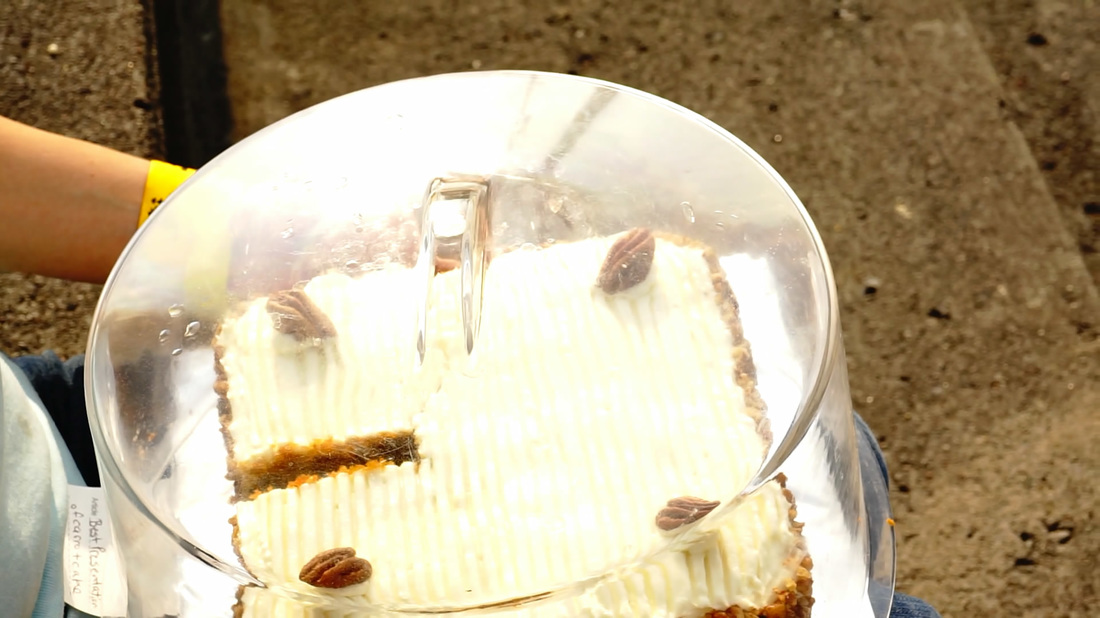
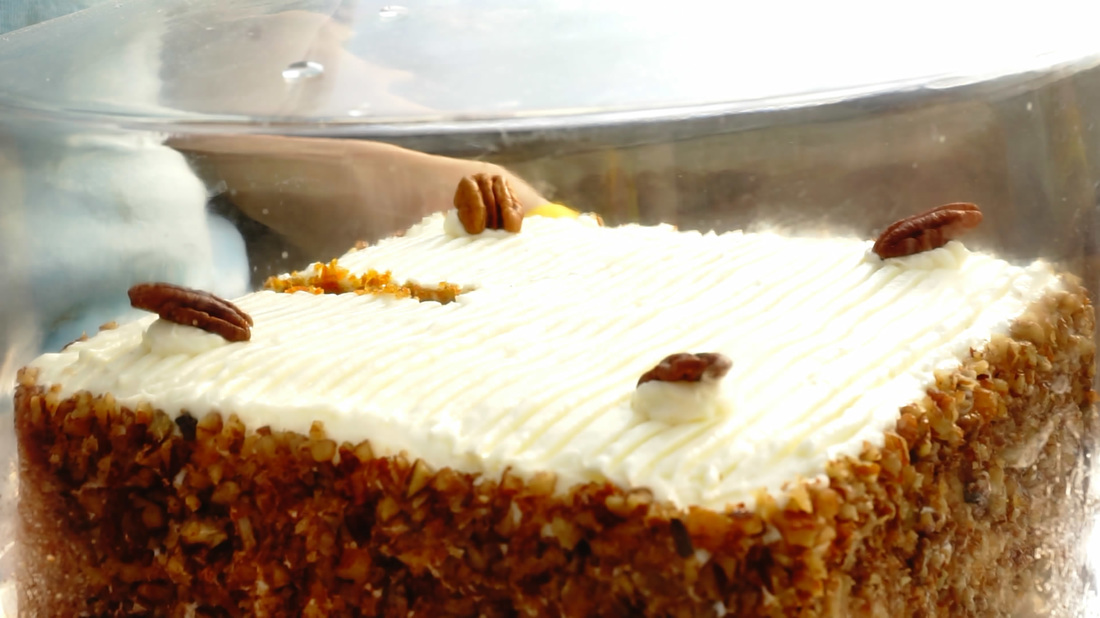
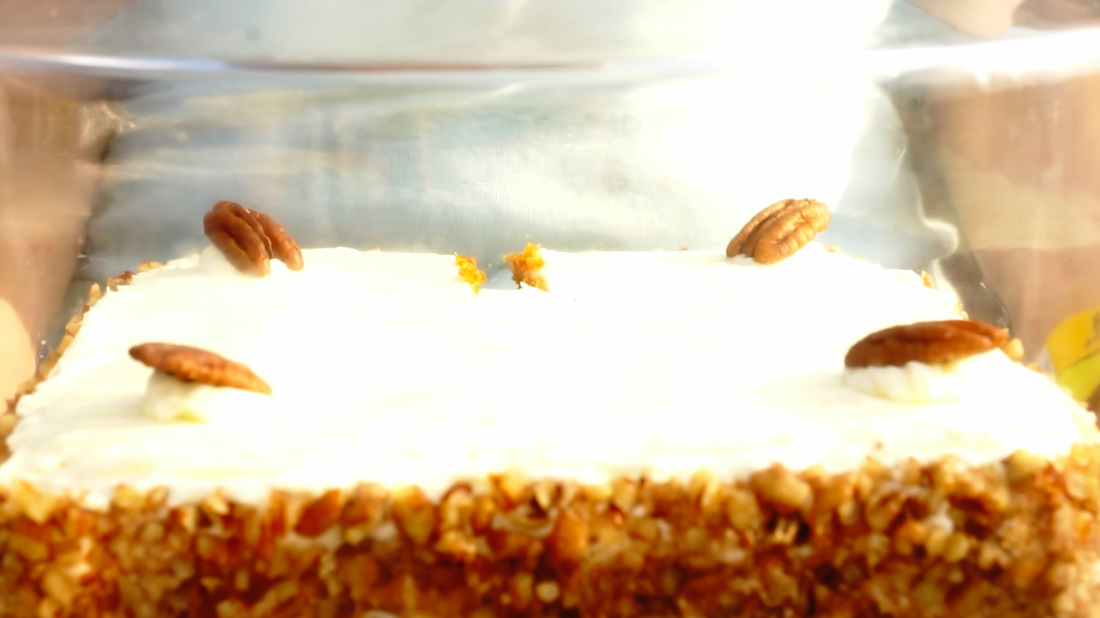
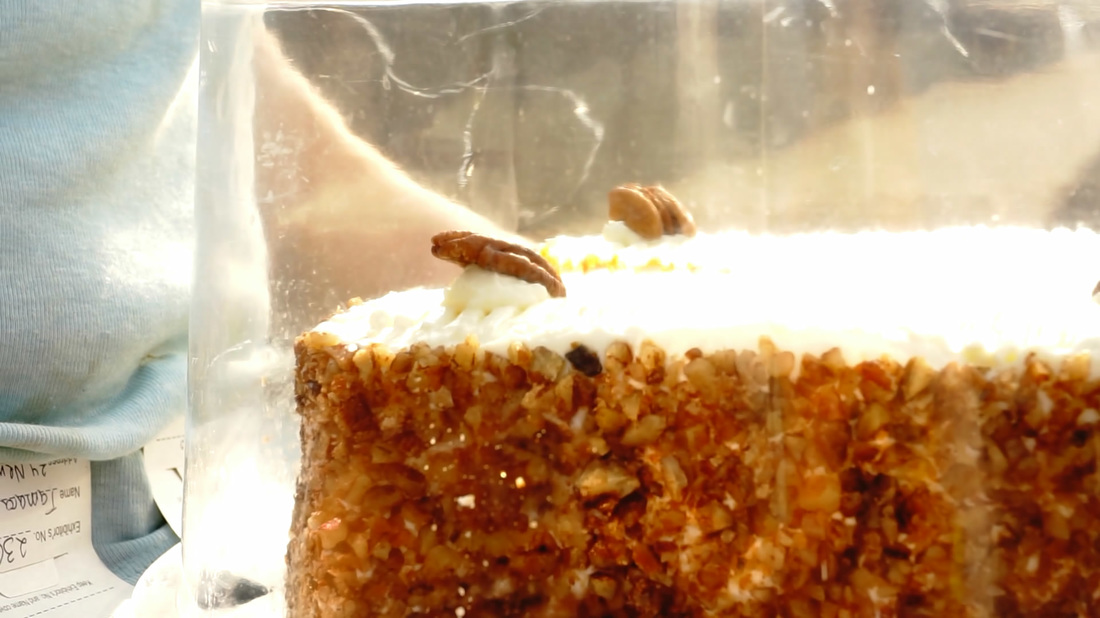
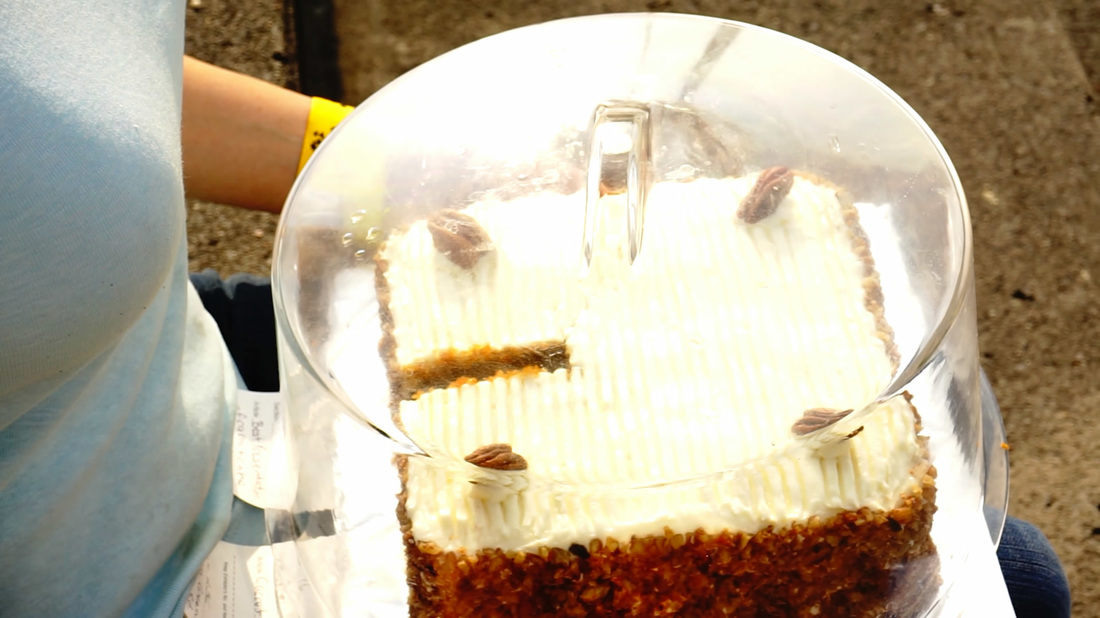
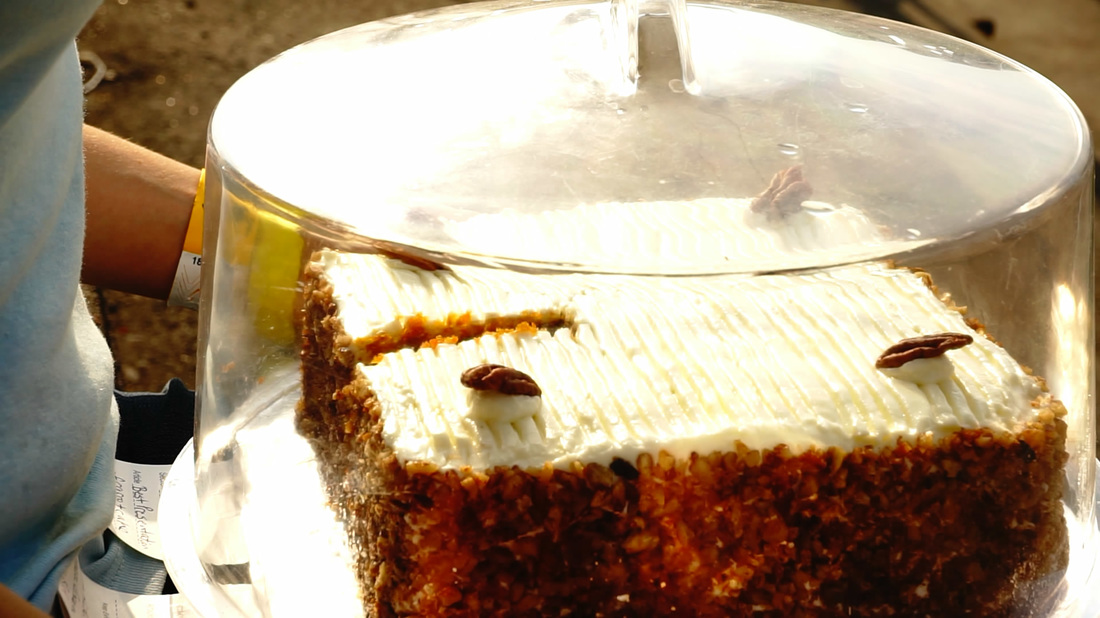
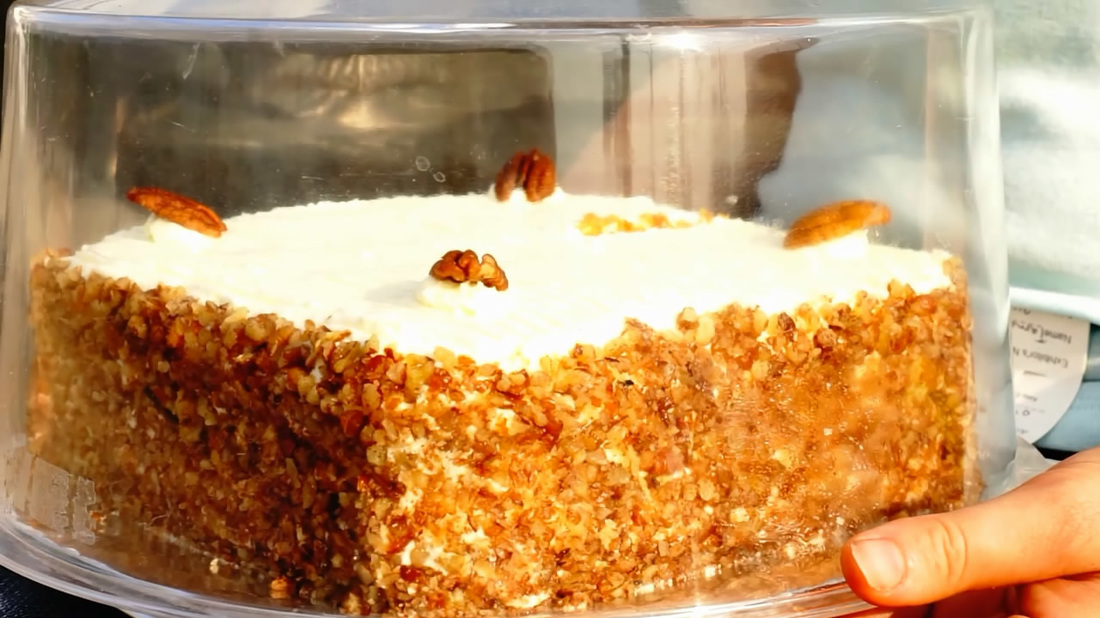
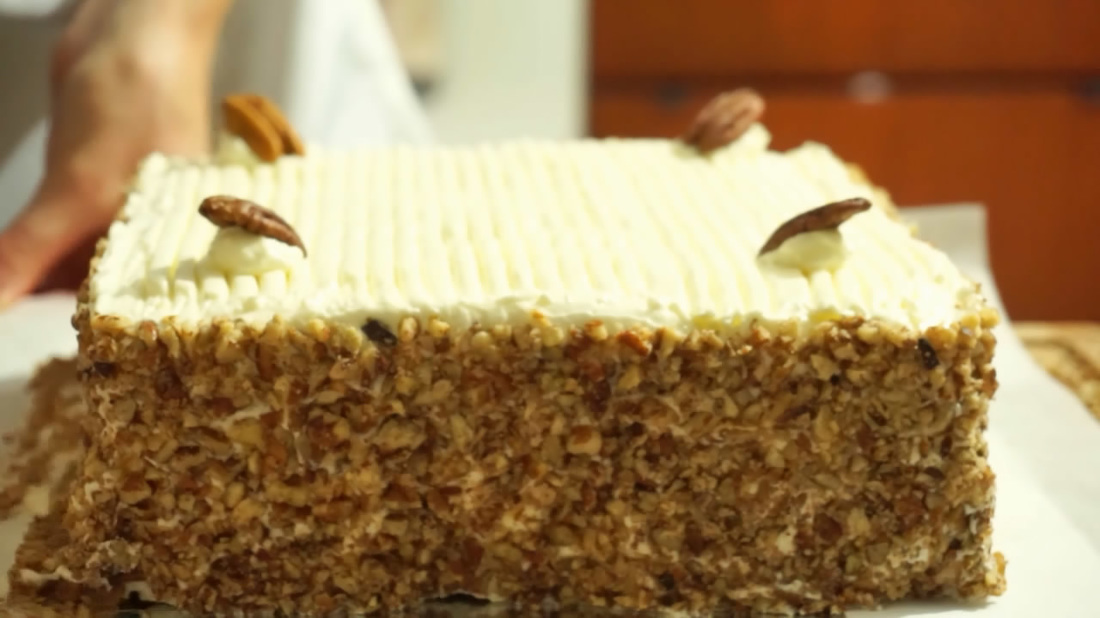
For those who haven't been following my carrot cake adventure I'll briefly tell you what it's been about... actually I wont because I have a video that does all of that! This video won second place in the Uxbridge Youth Film Festival so I hope you enjoy both the video and coming along with me in my GF carrot cake adventure. Here's a more complete interview with one of the two judges for the Port Perry Fair carrot cake competition: Here are the links to the articles I've posted regarding the "road to the carrot top" Carrot Cake (revision 1) I Want YOU To Help Me Make The Best GF Carrot Cake Ever! GF Carrot Cake To Compete Carrot Cake (revision 4)
Here's a cake that is right there with the best of the wheat flour made carrot cakes. Find out more about carrots here and how this recipe competed with 24 wheat mead cakes. It's written out in imperial and metric (scroll down). Enjoy! Imperial Measurements
Metric Measurements
Hi everyone, Sorry for the delay in this post but I was too busy making this entire Greek menu! I hope you enjoy it as much as my family and I did! Why did I choose to make an entire Greek meal? After reading about Greek mezethes from Georgia A and writing last weeks post about how I love making authentic ethnic cuisine, I felt like creating a Greek menu plan of my own; and so here it is!* 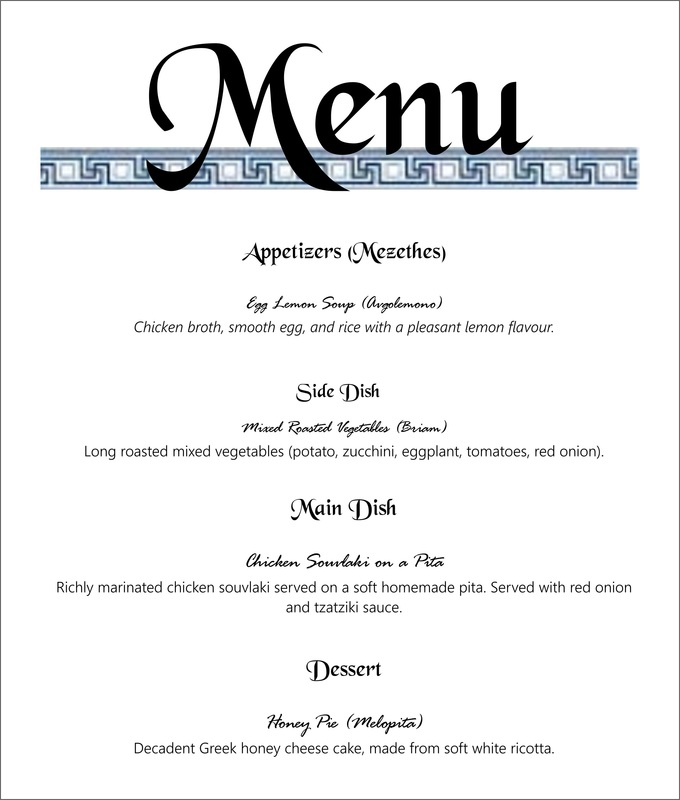 “Appetizer (Meze): Egg Lemon Soup (Avgolemono) Side Dish: Mixed Roasted Vegetables (Briam) Main Dish: Chicken Souvlaki on a GF Pita Dessert: Honey Pie (Melopita)” *I know this is a very humble menu compared to the huge meals they have in Greece! But trust me it was plenty filling for the six of us in my family! So want to know how to make all these goodies? Than KEEP READING! :) Appetizer (Meze): Egg Lemon Soup (Avgolemono) I made this according to this recipe Food by Country but I cut the salt from 2 tablespoons down to 1/2 teaspoon and still found the salt excessive due to the high sodium content in the chicken broth, so I suggest if you're not using homemade chicken broth then to omit the salt altogether. Side Dish: Mixed Roasted Vegetables (Briam) I made this according to this recipe: Delicious Briam recipe (Greek mixed Roasted Vegetables) my only recommendation is that you use young small zucchini with a tender skin as the skin on a zucchini is much tougher than all the other vegetables skins and needs more time in the oven to soften up but that means too much time for all the other vegetables. Main Dish: Chicken Souvlaki on a GF Pita This one was great! I use this recipe for the Chicken Souvlaki this one for the GF Pita . The only changes I made to the the pita recipe was I substituted the cornstrach for arrowroot powder (for health reasons, lets face it corn ain't the doctor's best friend). Tzatziki (Cucumber-Yogurt Sauce) I used this recipe: Tzatziki sauce recipe (Greek Yogurt and Cucumber Sauce). It depend on your lil' ol' taste buddies but we're prefer tzatziki with a more predominant garlic flavour. Make sure you drain the Greek yogurt (if you're using plain yogurt than drain an even longer time). Dessert: Honey Pie (Melopita)I made this once before with great results using this recipe from Food By Country but I was trying to make sure the recipe was traditional and I found quite a few recipes more akin to this one from Cook Me Greek so that is the recipe I went instead. My family agrees that we prefer the melopita recipe from Food By Country but the ricotta one is still good and probably more authentic but tastes more like a dessert omelet than a cake (perhaps use one less egg?). Need some help planning when to make these dishes? Here's a time table I made showing when to start each dish, so that it's possible for one person to make by themselves (but much better for two to do!). It starts at 3 o'clock and ends at 7 o'clock. 
I served the egg lemon soup at 5:00 as an appetizer and the main course and vegetables at 6:00 and lastly the dessert at 7:00 pm. 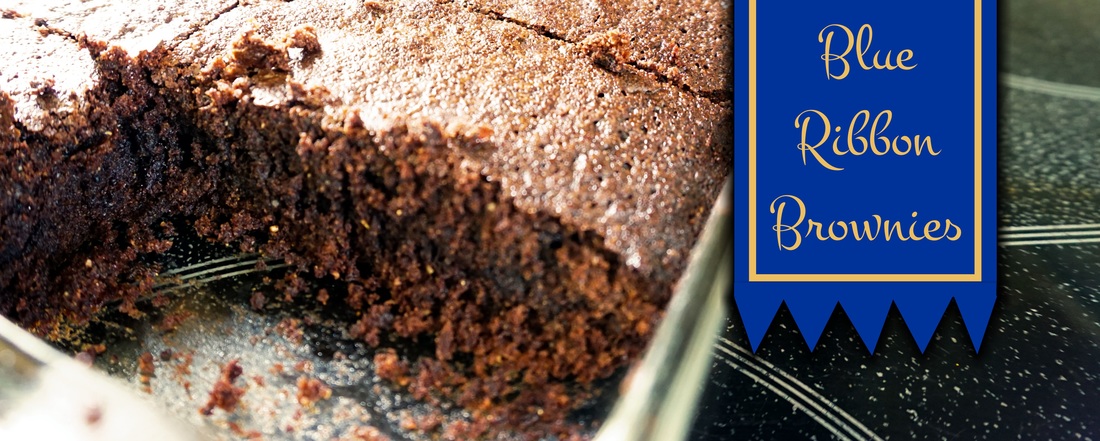 This GF brownie recipe competed in my local fair against gluten filled brownies and it won a blue ribbon! Also a friend of my dad came over one night and we served these brownies. We told him that they're gluten free and he jokingly scoffed. But then he bit into it and shocked that something so good could be gluten free said that they were really good (ps. he had two or three brownies that night). So here's the recipe I hope you enjoy just as much or more than others have! 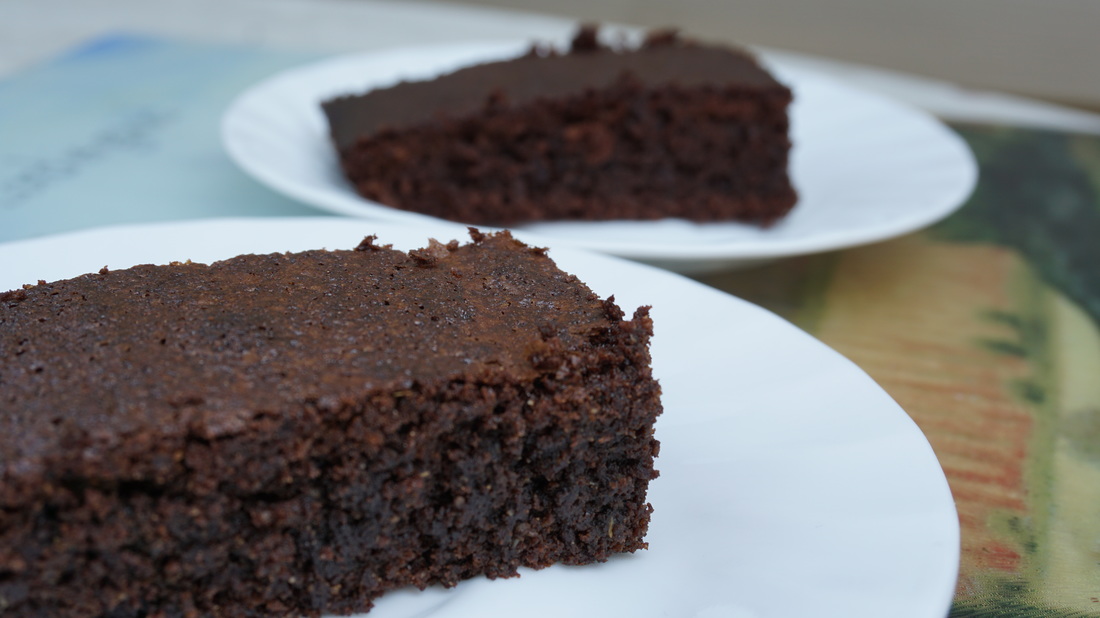 Preheat oven to 375f. Grease a 9" square baking pan and set aside. Sift together: 3 1/2 tbsp. Quinoa flour 3 1/2 tbsp. Brown rice flour 3 1/2 tbsp. Potato Starch 2/3 cup Cocoa, dark 1/4 tsp GF baking powder In a separate bowl mix together: 4 Eggs, lightly beaten, at room temp. 1 3/4 cup Sugar 1 cup Butter, melted & cooled Add the sifted ingredients into the egg mixture and stir until combine. Pour batter into prepared pan. Bake for 30 minutes or until brownies start pulling away from the sides of the pan. Let cool and enjoy!
|
 Click here for the best available price for a Digital Measuring Cup/Scale on Amazon.
Affiliate Links Disclaimer Life After Gluten receives a small commission from the sales made through our affiliate links. However, I only promote affiliate products that are relevant to the articles that brought you here. The commissions received through your purchases help maintain this site. Thank you for your support!

Happy to meet you,
If you are that person with a million and one allergies and intolerance I am there to say you are not alone! Life After Gluten can be better than life with wheat. Living lactose-free since 2007 and gluten-free since 2013. Also intolerant and/or allergic to mushrooms, soy, and yeast. Categories
All
Archives
March 2024
Affiliate Links Disclaimer Life After Gluten receives a small commission from the sales made through our affiliate links. However, I only promote affiliate products that are relevant to the articles that brought you here. The commissions received through your purchases help maintain this site. Thank you for your support!
|


 RSS Feed
Photo from Brett Jordan
