|
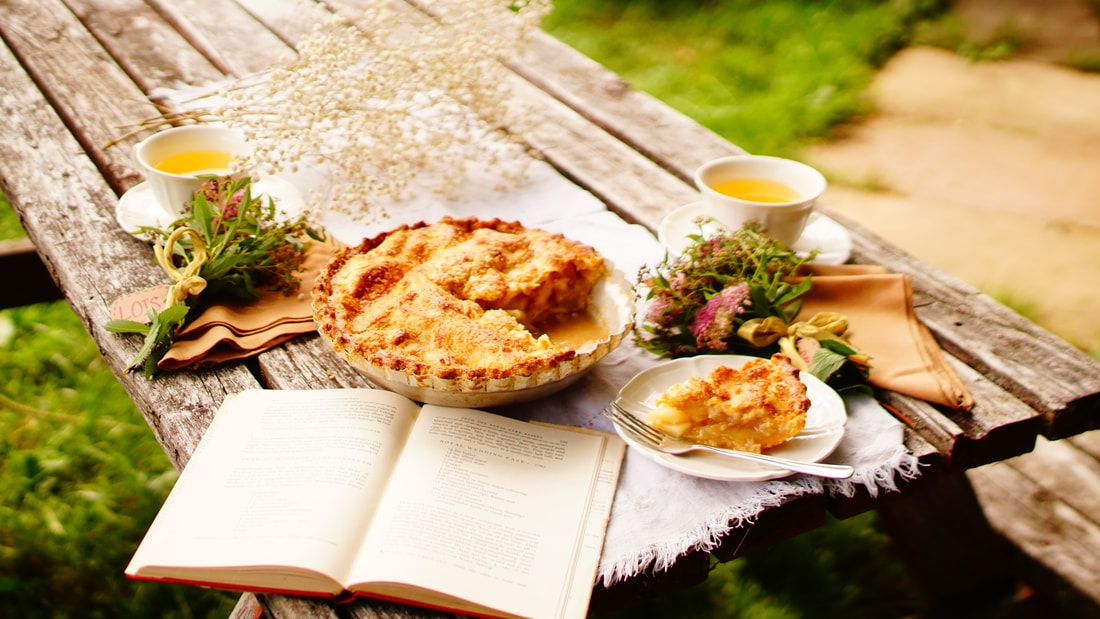
Apple pie is one of those time tested recipes. The earliest recipe for this delightful treat dates back to 14th century England (https://en.wikipedia.org/wiki/Apple_pie). At the time sugar was a rare and expensive commodity so the pie was in fact unsweetened (which I prefer) and the pastry crust a dim membrane with which the apples were merely encase. In fact it was not meant to consumption which is probably why the English gave it that grave name of "cofyn" (a.k.a. coffin).
Well, I am happy to say that delicious pie pastry has grown an integral part of a good pie. Not merely a grim case but a flakey and buttery delight of it's own. The gf pie crust recipe used here was posted separately as a remind that you can make baking easy on yourself by prepare things like pie dough ahead of time that way you are only spending short burst of time baking.
why this recipe works
By par-cooking your apples in a controlled manner, the activity of a enzyme which converts pectin into a more heat stable form, increases in activity between the temperature of 140°F and 160°F. “Very much like curing the cement mortar in between the bricks in a wall and allowing... it [to] fully harden. Once your apples slices have been treated in such a manner, subsequent baking will tenderize them, but still allow them to maintain their shape.” - J. Kenji Lopez, The Food Lab shopping list
Here are some of the best deals and niftiest pie plate, I found on amazon. You will need these items for this recipe, so at no extra cost you, if you purchase one of these products then I earn a small commission that helps fund more posts like this one!
The Best Gluten-Free Apple Pie Recipe
ingredients
gf-good-n-flaky-pie-dough.html1 recipe (click here for recipe) flakey pie crust, divide into two equal discs
1.6 kilograms granny smith apples 1 litre apple cider or water 100 grams granulated sugar 15 grams arrowroot starch/flour 1.25 millilitres ground cinnamon 1.25 millilitres kosher salt garnish 1 large egg, lightly beaten coarse cane sugar or xylitol method
Preheat the oven to 220°C (425°F).
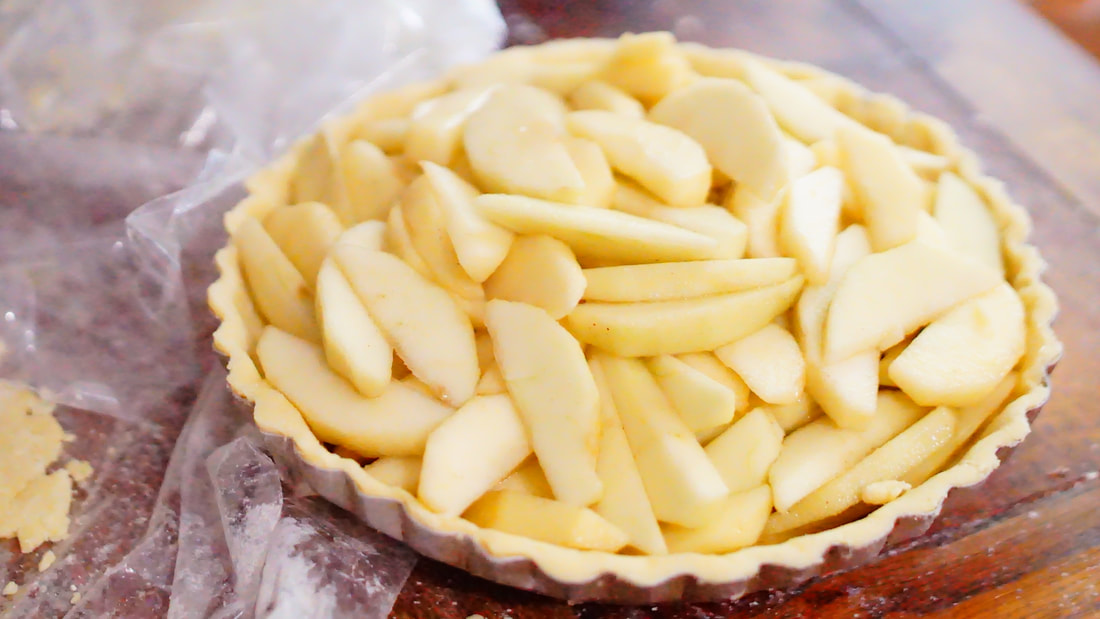
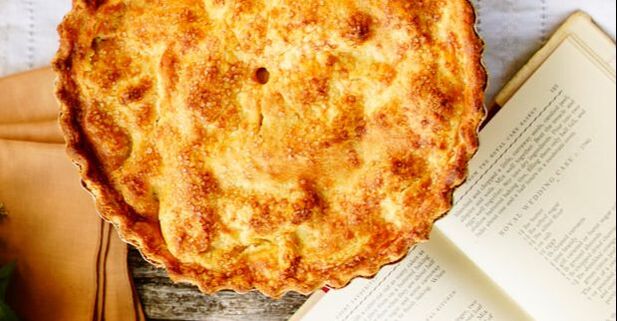
Peel and core apples. Place the apple peels, and cores in a pot with the apple cider. Bring to boil. Meanwhile, begin slicing your apples into six millimetre (1/4 inch) wedges. Place your apple slices in a large mixing bowl. Strain the peels and cores out of the cider. Pour the boiling hot cider over top the apple slices. Cover and set aside at room temperature for ten minutes. Drain apples well (reserve the liquid for a cup of extra apply cider) and let sit in a colander in the sink, tossing occasionally until completely dry, about ten minutes. In a large bowl whisk together the sugar, arrowroot starch, cinnamon, and salt. Toss the apples in the sugar mixture. Set aside. Between two sheets of parchment paper, or thick poly plastic, roll Roll one disc of pie dough into a circle roughly 30 centimetres (12 inches) in diameter. Peel back the paper/plastic occasionally to keep it from sticking on the dough. Flour any sticky spots on the dough as needed. Transfer to a nine inch pie plate. Brush the rim of the pie with some of the lightly beaten egg. Add the filling. Set aside in the refrigerator. Roll the remaining disc of pie dough into a circle 30 centimetres (12 inches) in diameter. Transfer to the top of the pie. Using a paring knife trim the edges of both crusts until they overhang the edge of the pie plate by just over a centimetre (1/2 an inch) all the way around. Fold the edges of both pie crusts down and together, tucking them in between the bottom crust and the pie plate and working your way around the pie plate until everything is well tucked. Use the forefinger of your non-dominant hand and the thumb and forefinger of your dominant hand to crimp the edges. Use a pastry brush to brush an even coat of lightly beaten egg all over the top surface of the pie. Cut a few slits in the top crust with a sharp knife for ventilation. Sprinkle evenly with a bit of coarse sugar. Bake until lightly golden brown, about 20 minutes. Reduce heat to 190°C (375°F) and continue baking until deep golden and filling is bubbling, about 25 minutes longer. Remove from the oven and allow ro cool at room temperature for at least two hours before serving. Like what you read? Sign up to our newsletter and find out about posts sooner! How to Comment Anonymously on This Site. Check out this brief and entertaining tutorial from Life After Gluten on how to comment anonymously on a site that uses disqus.
Comments
|
Click here for the best available price for a Digital Measuring Cup/Scale on Amazon.
Affiliate Links Disclaimer Life After Gluten receives a small commission from the sales made through our affiliate links. However, I only promote affiliate products that are relevant to the articles that brought you here. The commissions received through your purchases help maintain this site. Thank you for your support!
Happy to meet you,
If you are that person with a million and one allergies and intolerance I am there to say you are not alone! Life After Gluten can be better than life with wheat. Living lactose-free since 2007 and gluten-free since 2013. Also intolerant and/or allergic to mushrooms, soy, and yeast. Categories
All
Archives
March 2024
Affiliate Links Disclaimer Life After Gluten receives a small commission from the sales made through our affiliate links. However, I only promote affiliate products that are relevant to the articles that brought you here. The commissions received through your purchases help maintain this site. Thank you for your support!
|
Photo from Brett Jordan


 RSS Feed
